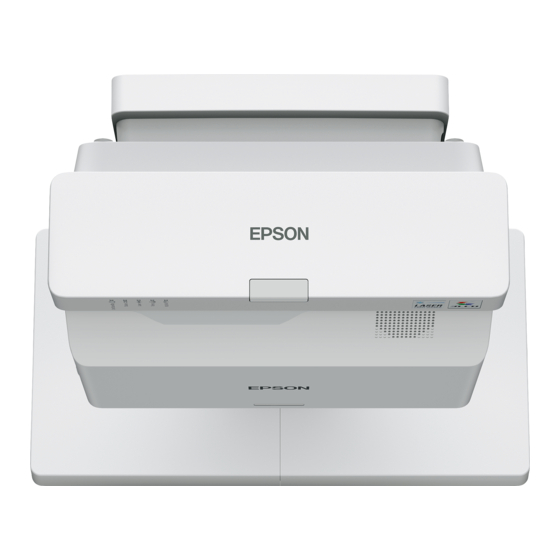
Epson EB-760W Snelle installatie
Blader online of download pdf Snelle installatie voor {categorie_naam} Epson EB-760W. Epson EB-760W 4 pagina's.

EB-760W/EB-770F/EB-775F
Quick Setup
IMPORTANT: Before using the projector, make sure you read these instructions
and the safety instructions in the online User's Guide.
Note: Product availability varies by country and region.
Note: The illustrations show the EB-760W, but the steps are the same for all
models, unless otherwise specified.
Connect the projector
Computer
Choose from the following connections. See the sections below or the online
User's Guide for details.
HDMI
port
®
Connect one end of an HDMI cable to one of the projector's HDMI ports and
the other end to an HDMI port on your computer.
Computer port
Connect one end of a VGA cable to one of the projector's Computer ports, and
the other end to your computer's
switch it to external display (see "Troubleshooting"). You can also connect an
audio cable.
Note: To use the projector's Computer2 port, change the Monitor Out Port
setting in the Signal I/O menu. See the online User's Guide for details.
USB port
Connect the square end of a USB cable to the projector's USB-B (square) port.
Connect the flat end of the cable to any USB port on your computer.
Windows
®
7 or later: After turning on the projector, follow the on-screen
instructions to install the Epson
®
USB Display software (EMP_UDSE.EXE;
only on first connection). If the software screen does not display
automatically, open My Computer, Computer, or This PC, then double-click
EPSON_PJ_UD.
OS X 10.8.x or higher: After turning on the projector, the setup folder for
USB Display appears in the Finder. Double-click USB Display Installer and
follow the on-screen instructions to install the Epson USB Display software
(only on first connection). If the software screen does not display automatically,
double-click EPSON_PJ_UD, then double-click USB Display Installer.
External monitor and speakers
You can connect an external monitor and external speakers to your projector to
enhance your presentations. See the online User's Guide for details.
Wired network
Connect the projector to your network using an Ethernet cable. See "Wired
network configuration" for more information.
VGA cable
USB cable
HDMI cable
monitor port. If you are using a laptop,
Ethernet cable
Video device
Connect multiple video devices and use the Source Search button on the
projector or remote control to switch between them. For more information on
playing sound through the projector, see the online User's Guide.
Component video
to VGA cable
HDMI cable
Note: If you connected a streaming device to an HDMI port, you can also
connect it to the projector's USB-A (flat) port for power.
Camera, USB device, or document camera
Connect a digital camera, USB flash drive, USB storage device, or Epson DC-07
document camera to the projector's USB-A (flat) port.
If you connect a digital camera, USB flash drive, or USB storage device, you can
use the projector's PC Free feature. You can also connect other Epson document
cameras to the projector. See the online User's Guide for details.
Using the remote control
Install the two AA batteries as shown.
Turn projector on
and off
Access projector menus
Turn off projector
display and sound
For more information on using the remote control, see the online User's Guide.
RCA video cable
3.5 mm
(composite video)
audio cable
USB cable
Choose which source
to display
Navigate projector
menus
Control projector
volume
Access the Home
screen
