Cisco Small Business Pro SPA 508G Configuratiehandleiding - Pagina 5

Blader online of download pdf Configuratiehandleiding voor {categorie_naam} Cisco Small Business Pro SPA 508G. Cisco Small Business Pro SPA 508G 12 pagina's. 4 line appearance phone
Ook voor Cisco Small Business Pro SPA 508G: Gebruikershandleiding (18 pagina's), Snelstarthandleiding (2 pagina's), Snelstarthandleiding (2 pagina's), Snelle referentiehandleiding (4 pagina's), Gegevensblad (7 pagina's), Snelstarthandleiding (7 pagina's), Gebruikershandleiding (2 pagina's), Gebruikershandleiding (8 pagina's), Snelstarthandleiding (14 pagina's), Configuratiehandleiding (12 pagina's), Gebruikershandleiding (12 pagina's), Snelstarthandleiding (2 pagina's), Snelle referentiehandleiding (2 pagina's), Snelle referentiehandleiding (4 pagina's), Gebruik (2 pagina's), Snelle referentiehandleiding (2 pagina's), Snelle gebruikershandleiding (2 pagina's)
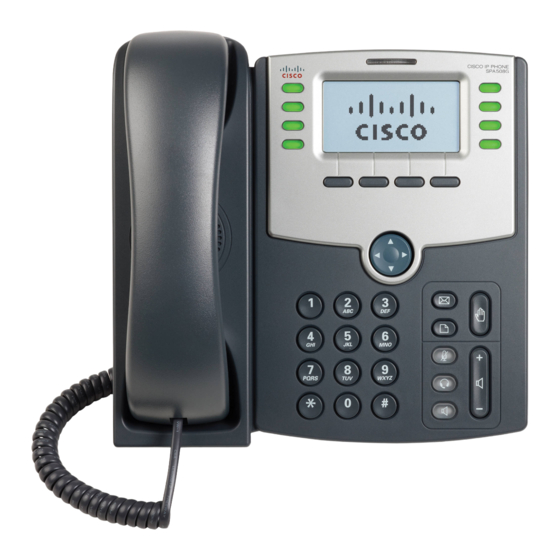
Cisco Small Business Pro SPA 508G Configuratiehandleiding
Set the "Display Name" field to the name you want to appear on the
Phone display
Set the "User ID" field to the extension number you want to
associate with this phone
Set the "Password" field to the extension's Authentication Password
Set the "Use Auth ID" field to "yes"
Set the "Auth ID" field to the extension's Authentication ID In the
"Dial Plan" section, set the "Dial Plan" field to "[x*]." (without the
quotes)
5. Next, we need to configure the Voice Mail Number on the phone to be able
to retrieve Voice Mail messages from MyPBX. Click on the "Phone" tab and set
the "Voice Mail Number" field to Voice Mail Number you have set in MyPBX.
6. Next, we need to adjust the audio parameters. Click on the "SIP" tab and, in
the "RTP Parameters" section, set the "RTP Packet Size" field to "0.020"
Click the "Submit All Changes" button at the bottom of the page. Your phone will
restart. After rebooting, the phone will register with the MyPBX. This can be
verified via the "line Status" page of the MyPBX Management Console.
Configuration for Remote Extensions
If you want to configure the phone as a Remote Extension, you will need to
ensure that the "Proxy" field is set to the Public IP Address of the PBX, and also
perform the following configuration adjustments:
1. Go to the "Ext1" tab
2. Go to the "NAT Settings" section
3. Set the "NAT Mapping Enable" field to "yes"
4. Set the "NAT Keep Alive Enable" field to "yes"
www.yeastar.com
Cisco IP Phone Configuration Guides
Figure 1-5
Figure 1-6
Figure 2-1
Page 5