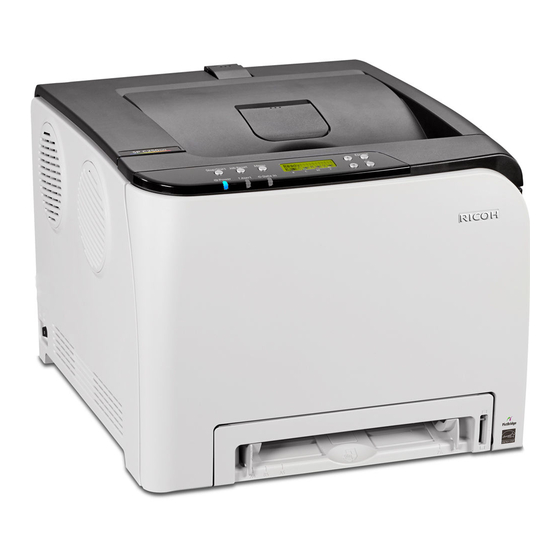
Ricoh SP C250DN Aan de slag handleiding - Pagina 10
Blader online of download pdf Aan de slag handleiding voor {categorie_naam} Ricoh SP C250DN. Ricoh SP C250DN 42 pagina's. Color laser printers
Ook voor Ricoh SP C250DN: Specificaties (4 pagina's), Gebruiksaanwijzing (48 pagina's)
wirelessly print, for example, from your laptop or tablet, it is recommended that you use the PBC (WPS)
Method outlined below. To use this method, your router must support Wi-Fi Protected Setup, and have a
dedicated WPS button.
Note:
Depending on the Wi-Fi router, the WPS button may have another name. For details, refer to the
•
wireless router manual.
When using this method, optimum security for the devices is automatically configured, based on the
•
connection environment. As such, it cannot be assumed that the configured security setting is the most
secure.
If your router does not have a dedicated WPS button, see
•
Before proceeding, please check the following:
Wireless router is working correctly, i.e., you can wirelessly connect to the Internet from your laptop.
•
Printer power switch is On.
•
Network cable is not connected to the printer.
•
Enable Wi-Fi Settings
Ensure that the printer's Wi-Fi function is enabled, as follows:
1. Press [Menu].
2. Scroll [
] to [Host Interface], and press [OK].
3. Scroll [
] to [Network Settings], and press [OK].
4. Scroll [
] to [Wi-Fi Config.], and press [OK].
5. Select [Wi-Fi], and press [OK].
6. Scroll [
] to [Active], and press [OK].
Note: Alert LED lights.
7. Press [Menu] to exit. Display reads, Please Restart Machine.
8. Turn printer power switch Off. Wait a moment, and then turn On.
.
9. Continue with
Configure IP Address Settings
Choose automatic or manual method for setting the printer's IP address.
Automatic
1. Press [Menu].
2. Scroll [
] to [Host Interface], and press [OK].
3. Scroll [
] to [Network Settings], and press [OK].
4. Scroll [
] to [IPv4 Config.], and press [OK].
5. Select [DHCP], and press [OK].
6. Scroll [
] to [Active], and press [OK].
Note: Alert LED lights.
RICOH SP C250DN/SP C252DN Color Laser Printers
Appendix E: Other Wireless Setup
Getting Started Guide
Methods.
10