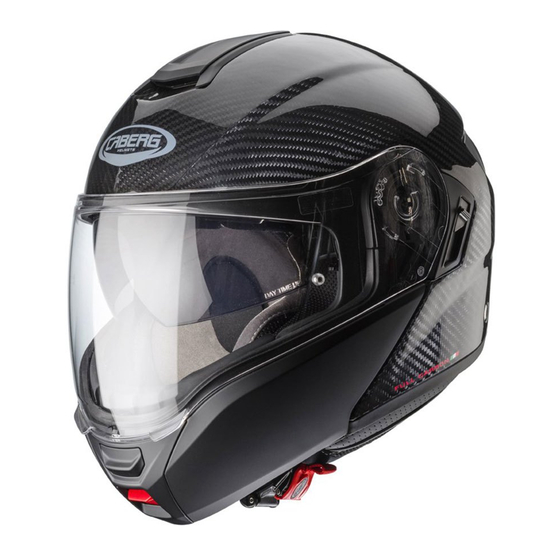
Caberg Levante Handmatig - Pagina 6
Blader online of download pdf Handmatig voor {categorie_naam} Caberg Levante. Caberg Levante 20 pagina's. Panoramic visor

ENG
Your helmet LEVANTE thanks to the double homologation P/J can be used in 2 configurations (chin
guard closed "P" and chin guard open "J")
Lever P/J
When the P/J lever is positioned on "J" it is possible to block the chin guard in the open position
(Pic.1). The selection on the position "J" must be done before opening the chin guard.
WARNING !
In this position it is not possible to close the chin guard. Do not force the closure
as this could cause damages to the closing mechanism of the helmet.
In order to close the chin guard it is necessary to move the P/J lever to the "P" position.
When the lever P/J is positioned on "P" the chin guard can be open and closed (Pic.2)
WARNING!
- The level of protection of this helmet is in function of the configuration adopted by the user :
full protection with the chin guard closed and partial protection when the chin guard is open.
- Whilst on the move do not ride with the chinguard in the open postion if the P/J lever is
not positioned in the configuration "J"
1.
HOW TO REMOVE/INSTALL THE CLEAR VISOR
1.1 With the chin guard closed, open completely the clear visor. Press the lever
of the helmet and release the visor (Pic.3)
1.2 Repeat the operation on the other side to remove the visor
To install the visor repeat the above steps in reverse.
2.
HOW REMOVE/INSTALL THE SMOKE VISOR
2.1 Drive rearward the smoke visor lever B (Pic.4)
2.2 Release the smoke visor by pulling slightly outward (Pic.5)
To Install the smoke visor repeat the above steps in reverse.
WARNINGS! Do not use the smoke visor during late night hours or in scarce visibility condition.
WARNINGS! Any adjustments to the smoke visor must be done only when the bike is stationery.
3. HOW TO REMOVE/INSTALL THE CHIN GUARD
The chin-guard of this helmet can be removed to ease the cleaning of the mechanisms.
3.1 Repeat step 1.1
3.2 Unscrew the screw C on both sides ( Pic.6)
3.3 Remove the chin guard
To install the chin guard repeat the above operation in reverse.
WARNINGS! During the chin guard assembly, make sure that all components are positioned
correctly in order not to undermine the helmet-chin guard proper functioning.
6
A
towards the back
