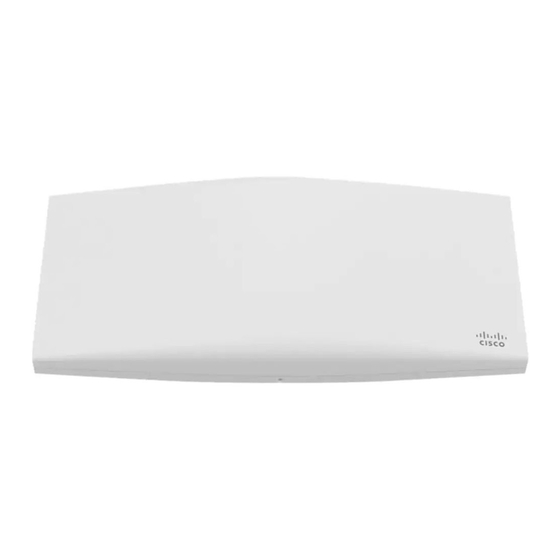
Cisco Meraki MR46 Installatiehandleiding - Pagina 16
Blader online of download pdf Installatiehandleiding voor {categorie_naam} Cisco Meraki MR46. Cisco Meraki MR46 18 pagina's.

3. Connect the power adapter or PoE. The radio and signal strength LEDs on the AP will turn solid green or blue
once the access point boots up and detects the gateway.
4. The access point is now a repeater and will check into Dashboard.
5. On dashboard under monitor and access points you will see the connectivity bar for the specific Repeater AP
reflecting a light green color, which means the AP is a repeater. Gateway APs will reflect a dark green color in the
connectivity bar and also will have the letter G (Gateway) on top of the AP symbol.
Check Ethernet Port Functionality by Connecting to the AP
1. Disable the Wireless adapter on your computer.
2. Make sure the Ethernet adapter on your device is set to obtain an IP address automatically via DHCP.
3. Connect your computer to the Ethernet port on the AP with an Ethernet cable.
4. The Ethernet LED on the AP should turn solid green or blue.
5. If the Ethernet LED does not turn solid green or blue, try swapping the cable. If the Ethernet port still does not turn
green or blue, try the second Ethernet port, if the AP has one.
6. If the Ethernet LED does not turn solid green or blue, you may have a bad port on the AP. If this is the case, the
AP signal LEDs will continue to scan.
7. Once the Ethernet LED turns solid green or blue, your computer should obtain an IP address from the AP via
DHCP.
Check Static IP Address Configuration
1. If the AP has a static IP address, the green signal LEDs will begin to flash on and off and you will not receive an IP
address via DHCP.
2. Disconnect the Ethernet cable from the AP.
3. Associate to the SSID being broadcasted by the AP. If there are no other APs in the network within range the SSID
may be appended with "-scanning".
4. Go to my.meraki.com in your web browser.
5. The MAC address on the back of the access point should match the physical address value on the my.meraki.com
Overview page.
6. Once you have verified that the MAC address is correct on the overview tab, click the tab Static IP configuration.
7. Enter the username (serial number on the back of the AP) which is case sensitive and must include the dashes.
(There is no password).
8. Make sure your AP is set to obtain a correct DHCP or static IP address configuration from your network.
Reference
https://documentation.meraki.com/MR
If you are still experiencing hardware issues, please contact Cisco Meraki support by logging in to dashboard and using
the Help option near the top of the page, then opening and email case or calling using the contact information on that
page.
for additional information and troubleshooting tips.
16
