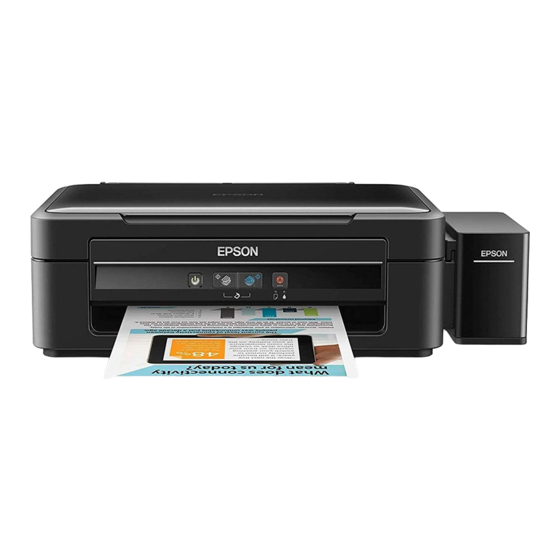
Epson L220 Start Here
Blader online of download pdf Start Here voor {categorie_naam} Epson L220. Epson L220 4 pagina's.
Ook voor Epson L220: Start Here (4 pagina's)

EN
Start Here
TH
TC
安裝說明
© 2014 Seiko Epson Corporation.
All rights reserved.
Printed in XXXXXX
Read This First / 請先閱讀本說明 /
This printer requires careful handling of ink. Ink may splatter when the ink
tanks are filled or refilled with ink. If ink gets on your clothes or belongings, it
may not come off.
請小心處理印表機的墨水。當將墨水裝入或填充至大容量墨水槽時,墨水
可能會濺灑出。如果墨水滴到您的衣物或物品,可能會無法清除乾淨。
c
Important; must be observed to avoid damage to your equipment.
重要事項:務必遵守重要事項說明,避免您的設備受損。
1
Contents may vary by location.
內容可能因地點而有不同。
Q
Do not open the ink bottle package until you are ready to fill
O
the ink tank. The ink bottle is vacuum packed to maintain its
reliability.
Even if some ink bottles are dented, the quality and quantity of
O
ink are guaranteed, and they can be used safely.
墨水瓶拆封後,應立即填充大容量墨水槽。墨水瓶是以真空
O
包裝以維持其可靠度。
O
即使部分墨水瓶出現凹痕,也不會影響墨水品質及墨水量,
可安心使用。
2
Do not connect a USB cable unless
instructed to do so.
除非有指示要求,否則請勿連接
USB 連接線。
Windows
Insert the CD and follow the on-screen instructions to finish the setup process.
放入光碟並依照螢幕上的指示完成安裝程序。
Q
If the Firewall alert appears, allow access
for Epson applications.
若出現〝防火牆〞警示訊息,請確認發
行者為 Epson,然後才開啟 Epson 應
用程式。
Windows (No CD/DVD drive)
Mac OSX
No PC
Proceed to the next step (Section 3).
繼續下一個步驟 (單元 3)。
Windows
3
A�
Remove all protective materials.
移除保護膠帶。
Unhook and lay down.
B�
將大容量墨水槽從印表機上取
下,然後將其平放。
Q
Do not pull the tubes.
請勿拉扯墨水導管。
Open and remove.
C�
打開大容量墨水槽護蓋並拔下
瓶蓋。
c
Use the ink bottles that came with your printer.
O
Epson cannot guarantee the quality or reliability of non-genuine
O
ink. The use of non-genuine ink may cause damage that is not
covered by Epson's warranties.
O
請使用印表機內附的墨水瓶。
O
Epson 不保證非原廠墨水的品質或可靠性。使用非原廠墨水而
導致損壞,Epson 將不提供免費的保固服務。
D�
Snap off, remove, and then close tightly.
拔下墨水瓶蓋上的栓子,打開瓶蓋並移除封條,然後裝回瓶蓋。
E�
Match the ink color with the tank, and then fill with all of the ink.
確定墨水顏色與大容量墨水槽相符,然後裝入所有墨水。
Q
Install.
使用栓子密封住墨水瓶。
Close securely.
F�
將大容量墨水槽瓶蓋牢牢拴緊。
Repeat steps C to F for each ink bottle.
G�
重覆步驟 C 至 F,裝入其他顏色的墨水。
Close.
H�
闔上大容量墨水槽護蓋。
Hook onto the printer.
I�
將大容量墨水槽掛回印表機上。
Connect and plug in.
J�
連接電源線並插入電源插座。
K�
Turn on the printer and wait until P stops flashing.
開啟印表機電源,並等待 P 燈號停止閃爍。
L�
3 seconds
Press y for
until P starts flashing. Ink charging starts.
3 秒
按住 y 鍵
,直到 P 鍵開始閃爍。墨水設定隨即開始。
M�
Charging ink takes about 20 minutes. Wait until the light turns on.
墨水設定大約需要 20 分鐘。請等待燈號亮起。
