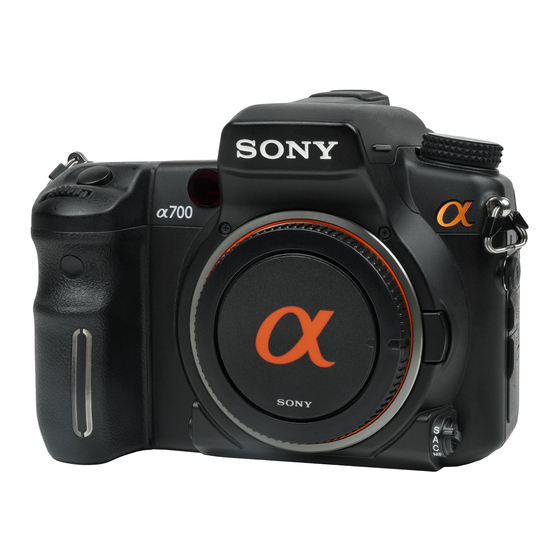
Sony A700 Handmatig - Pagina 33
Blader online of download pdf Handmatig voor {categorie_naam} Sony A700. Sony A700 35 pagina's. Expodisc custom white balance procedures
Ook voor Sony A700: Functies Handleiding (3 pagina's), Snelstarthandleiding (6 pagina's)

Each of these four choices can also be
adjusted by changing their contrast, satura-
tion, and sharpness.
The three remaining choices can be
assigned any of the 14 styles, including the
four that are assigned to the unswitchable
choices. When any of the 14 styles are set to
one of the three empty slots, they can be
adjusted in five different ways: contrast, sat-
uration, sharpness, brightness, and zone
matching. The remaining styles are
Clear. Darkens the overall color
tone and increases the contrast.
Deep. Reduces the contrast, bring-
ing out more detail in dark, solid
color areas.
Light. Brightens the overall tone of
the image.
Portrait. Skin tones are captured
in a soft tone, making this mode
the choice for portraits.
Landscape. Contrast, saturation,
and sharpness are increased to
capture landscapes.
Sunset. Helps to capture the reds
of sunset.
Night View. The contrast is weak-
ened, giving a more realistic view
of night scenes.
Autumn Leaves. Pushes the colors
to capture the reds and yellows of
autumn.
B/W. Captures the image in black
and white.
Sepia. Captures the image in
sepia (a yellow-brown tone). This
gives the image an old world look
closely associated with the photo-
graphs of the Old West.
Chapter 1
Exploring the Sony Alpha A700
AdobeRGB
1
2
3
1.31
by pressing the Creative Style button and is
easily navigated by using the multi-selector.
The Creative Styles cannot be used with any
of the Scene Exposure modes. If you press
the Custom button when in any of the
Scene Exposure modes, the LCD displays an
Invalid Operation screen and you have to
press the multi-selector center button to
continue.
D-Range
Optimization
Dynamic Range Optimization or DRO tech-
nology lets the A700 analyze the image and
helps to recover details in the dark and
bright areas of the scene. Each of the Scene
Exposure modes sets the DRO automati-
cally, but they can be changed. The changes
are not permanent, and if the Mode dial is
moved from one scene to the next, the DRO
resets to the default for that particular Scene
Exposure mode.
Pressing the Function button opens the
Quick Navigation screen and using the
multi-selector navigates to the D-Range
Optimization setting. Pressing the multi-
selector center button opens the D-Range
Creative Style
Autumn leaves
Portrait
Landscape
Autumn
Autumn
The Creative Styles menu is accessed
43
3
Autumn
ZONE
±2
±0 ±0
±0
±0
Select
Exit
