Digitrax DN163I1B Snelstarthandleiding - Pagina 2
Blader online of download pdf Snelstarthandleiding voor {categorie_naam} Digitrax DN163I1B. Digitrax DN163I1B 8 pagina's. N scale mobile decoder. 1.5 amp/2.0 amp peak 6 fx3 functions, 0.5 amp

P P a a r r t t s s L L i i s s t t
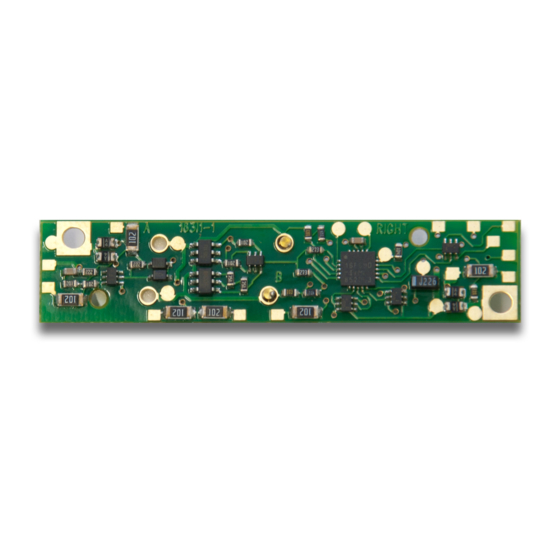
1 DN163I1B Decoder
I I n n s s t t a a l l l l a a t t i i o o n n I I n n f f o o r r m m a a t t i i o o n n
See the Digitrax Decoder Manual for complete decoder test procedures, instal-
lation instructions, programming and technical information. Digitrax manuals
and instructions are updated periodically. Please visit www.digitrax.com for the
latest versions, technical updates and additional locomotive-specific installation
instructions.
I I n n s s t t a a l l l l a a t t i i o o n n I I n n s s t t r r u u c c t t i i o o n n s s - - I I n n t t e e r r M M o o u u n n t t a a i i n n F F T T B B L L o o c c o o m m o o t t i i v v e e
1. Carefully remove the
locomotive's shell from
the frame by inserting
two toothpicks under the
unit's ladders as shown.
2. Once you've positioned
the toothpicks, grasp the
frame and toothpicks
with one hand and the
locomotive's shell with
the other hand and care-
fully separate the two.
3. Once the shell is off,
remove the existing
lightboard by removing
the two screws located
on the diagonal corners
of the board.
4. Take the new
DN163I1B decoder and
place it on top of the
frame. Note proper ori-
entation. The decoder's
CPU (the square black
chip) should be oriented
towards the 'slotted' end
of the unit as shown in
figure 3.
5. The final step is to
secure the decoder with
the original screws.
Note: the locomotive's
©2004 Digitrax, Inc
D D
C C
i i g g i i t t r r a a x x
o o m m m m a a n n d d
R R u u n n Y Y o o u u r r T T r r a a i i n n s s , , N N o o t t Y Y o o u u r r T T r r a a c c k k ! !
Toothpicks
inserted
under the
steps
Figure 1: Insert toothpicks
as shown
Figure 3: Unscrew, and remove
standard lightboard. Replace with
Digitrax decoder as shown
www.digitrax.com
C C
o o n n t t r r o o l l
1 Instruction sheet
Figure 2: Grasp toothpicks and
gently remove shell fromframe.
Figure 3: Orient CPU towards
the 'slotted' end of the unit.
2
