argon audio TT Handmatig - Pagina 6
Blader online of download pdf Handmatig voor {categorie_naam} argon audio TT. argon audio TT 9 pagina's.
Ook voor argon audio TT: Snel aan de slag (2 pagina's)
- 1. Components, Features and Connections
- 2. Items Included in the Box
- 3. Turntable Platter and Belt Setup
- 4. Cartridge Downforce Adjustment
- 5. Connection to Amplifier/Speakers
- 6. Main Power Connection
- 7. Turntable Operation
- 8. Maintenance and Cleaning
- 9. Cartridge Replacement
- 10. Technical Specifications
- 11. Troubleshooting
- 12. The Platter Doesn’t Turn Although the Unit Is Switched on
- 13. No Signal through One or Other Channel or both Channels
- 14. Distorted of Inconsistent Sound from One or both Channels
T T M a n u a l
Useful Tips
The turntable should be positioned on a low-resonance surface such as wood or multiple layer
ply board to avoid structural vibrations disturbing playback.
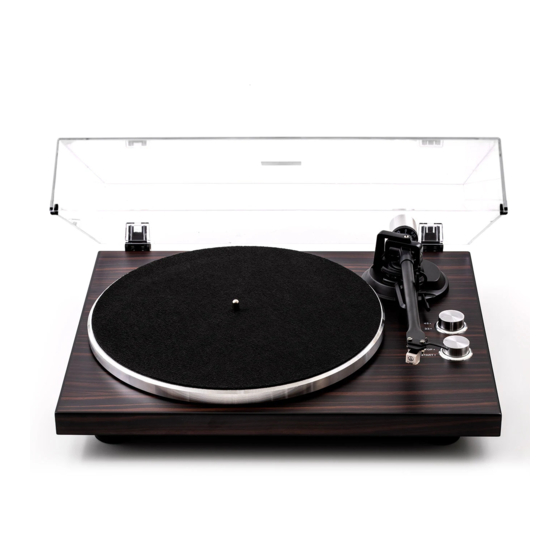
Cartridge Replacement
1. Before replacement, put the stylus protector back on the stylus to prevent damage to the
stylus during the replacement process.
2. Carefully remove the wire leads from the original cartridge.
3. Loosen the two screws on the headshell that are securing the cartridge and then remove
the original cartridge.
4. Mount the new cartridge to the headshell and tighten it lightly. Do not completely tighten the
screws at this moment.
5. Connect the wire leads to the new cartridge's terminals .The wire lead color codes are as
below:
White Left channel positive (L+)
Black Left channel negative (L–)
Red Right channel positive (R+)
Black Right channel negative (R-)
6. Adjust the cartridge's position to make sure it is precisely aligned on the headshell so that
the stylus will be tracking the grooves in parallel perfectly.
To achieve this, place the included paper cartridge alignment protractor over the turntable
spindle, carefully lift the tone arm and place the tip of the stylus on the points marked 130mm
and 250mm respectively. Fine tune the cartridge's position on the headshell until the cartridge
is perfectly in parallel with the reference lines at both points.
7. Tighten the screws completely once the perfect alignment is achieved.
NOTE: If you are unfamiliar or uncomfortable with completing this procedure, we recommend
consulting with a professional/your point of purchase to perform the installation.
5