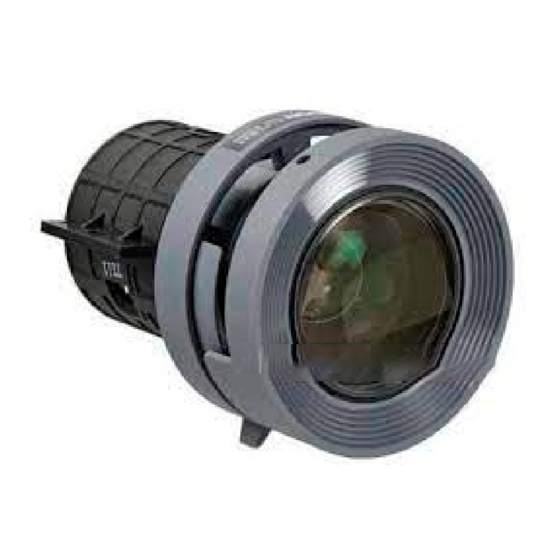
Epson 7900p - PowerLite XGA LCD Projector Lens installeren - Pagina 3
Blader online of download pdf Lens installeren voor {categorie_naam} Epson 7900p - PowerLite XGA LCD Projector. Epson 7900p - PowerLite XGA LCD Projector 5 pagina's. Supplemental / late breaking information
Ook voor Epson 7900p - PowerLite XGA LCD Projector: Gebruikershandleiding (42 pagina's), Bedieningshandleiding (36 pagina's), Vervangende onderdelen (1 pagina's), Snelle installatie (2 pagina's), Productinformatie (24 pagina's), Gebruikershandleiding (1 pagina's), Technisch overzicht (7 pagina's), Product ondersteunings bulletin (7 pagina's)

