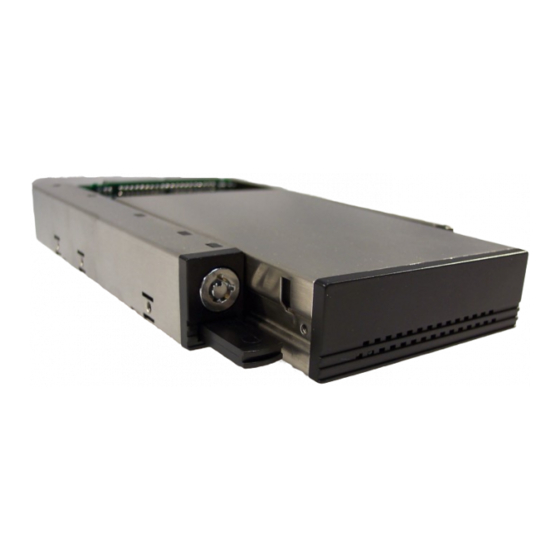
CRU Dataport 25 Gebruikershandleiding - Pagina 5
Blader online of download pdf Gebruikershandleiding voor {categorie_naam} CRU Dataport 25. CRU Dataport 25 6 pagina's. Portable storage device

Frame Installation
WARNING!
Only use screws provided by CRU to install your DataPort 25 frame.
Use of standard M3 screws will prevent proper functionality of your
DataPort 25.
1.
Turn off the computer and disconnect its power cord from the
electrical outlet.
2.
Wait one minute for any residual energy to dissipate from your
computer.
3.
Remove the cover of the computer.
4.
Locate an empty externally accessible 3.5" bay in which you will
mount the DataPort frame assembly, and then remove any filler
plates that may be present.
5.
If the drive bay requires mounting rails, install one on each side of
the frame. The mounting rails should be provided with your
computer system.
6.
Mount the frame assembly by sliding the frame into the 3.5" bay
from the front of the PC case.
7.
Using the screws provided, secure the frame assembly to the
computer case using the frame's side mounting holes (see Figure
3). Your DataPort frame also has bottom mount holes in case you
need to bottom mount the unit.
Figure 3 – Location of mounting holes
Page 4
Side mounting holes
Bottom mounting holes
www.CRU-DataPort.com
8.
Locate the data cable and connect it to the connector on the rear
of the frame.
9.
Connect the DC power cable to the frame by locating an available
4-pin DC floppy style power cable from the computer power supply
and then plugging it into the power plug (JP3) on the frame.
Figure 4 – Location of JP3 Power Plug
The frame installation is now complete.
Hard Drive Activity LED
The front of the DataPort 25 has two LEDs: a green LED that lights up
when the power to the hard drive is on, and an amber LED that lights
up when activity is taking place on the hard drive.
Mounting a Hard Drive in the Carrier
1.
Remove the two screws from the back of the carrier. Slide the
metal cover off.
2.
Install the first drive in the carrier. Connect the drive to the
connector in the carrier and use the four screws provided to mount
the drive.
3.
If there is a second hard drive, install it now.
4.
After the drive has been installed, slide the cover over the drive
mounting chassis and insert the screws in the rear of the cover to
secure it.
5.
Insert the carrier into the frame assembly. Ensure that the lock is
in the OPEN (vertical) position.
6.
Once the carrier has been seated in the frame the keylock must be
turned clockwise 90 degrees (horizontal) to engage the mechanical
lock and enable power to the devices in the carrier.
You have finished the installation and your DataPort 25 is ready to
operate.
Technical Support
Please visit our website for the latest information and technical support
options: http://www.CRU-DataPort.com.
www.CRU-DataPort.com
Page 5
