DimSport My Tuning Bike Gebruiksaanwijzing - Pagina 3
Blader online of download pdf Gebruiksaanwijzing voor {categorie_naam} DimSport My Tuning Bike. DimSport My Tuning Bike 6 pagina's. Device for permanent auto mapping function with bosch wideband o2 sensor

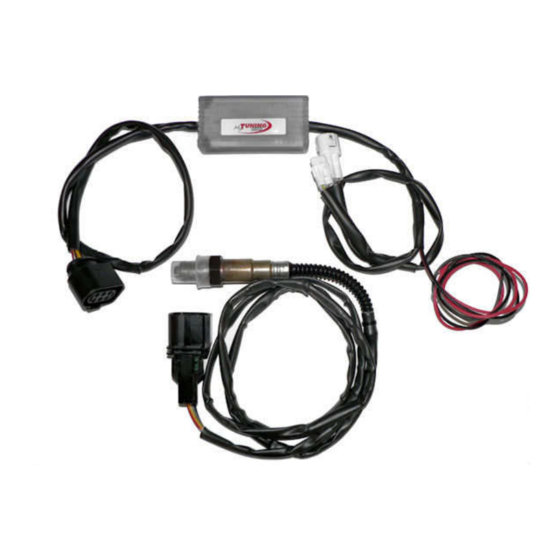
3. Connect the 3 pin connector of the My Tuning Bike labelled
as ID01 to the wiring F27-TERM1.
5. Connect the O2 sensor to the My Tuning Bike wiring ensuring the cable will not get pinched or damaged
by the exhaust.
6. Connect the black wire with the eyelet of the My Tuning Bike to the negative pole of the battery.
7. Connect the red wire of the My Tuning Bike to a switched 12v source using the
supplied posi-tap.
My Tuning Bike absorbs maximum 3A (during O2 sensor heating process): check on
the maintenance manual of the vehicle if this power consumption is supported by the
12v source. The power for the tail light is a good location.
8. Close or disable the clean air injection system (also called PAIR valve) if applicable
(only on vehicles WITHOUT catalytic converter).
My Tuning Bike will record the serial number of the module to which is connected at the first engine
start. Then it will not work if connected to other modules.
This will happen also when more My Tuning Bike are installed to a Rapid Bike module
When My Tuning Bike is connected to a Rapid Bike Evo or Racing module it activates automatically with the
default settings:
Target AFR: 13.2 for all the cells of the map (except TPS 0%)
o
Start correction: 2000 rpm
o
Max positive trim: 10
o
Max negative trim: 10
o
A different AFR target for each cell of the map can be set as following:
1. Connect the RapidBike module to the software (downloadable from the RapidBike website) by means of
the USB cable.
2. Select the mask "My Tuning Bike" and remove the mark on the option Same AFR for each cell.
3. Select the cells and modify the AFR value with buttons + and – on the keyboard (or icons in the
software).
Multiple cells can be highlighted by using click/drag with the mouse and modified together: in this situation
the value can be changed with buttons + and – or by right-clicking with the mouse and selecting Edit.
Right-click with the mouse on a cell and select Don't modify to disable the injection adjustments on that cell.
4. Click on Apply to save new settings.
Issued by: PM
4. Connect the connector F27-
TERM2 to the 3 pin white
connector of the My Tuning Bike
wiring.
approved by DG
WARNING
Settings
Rev.07
date 12/06/16
pag. 3/6
