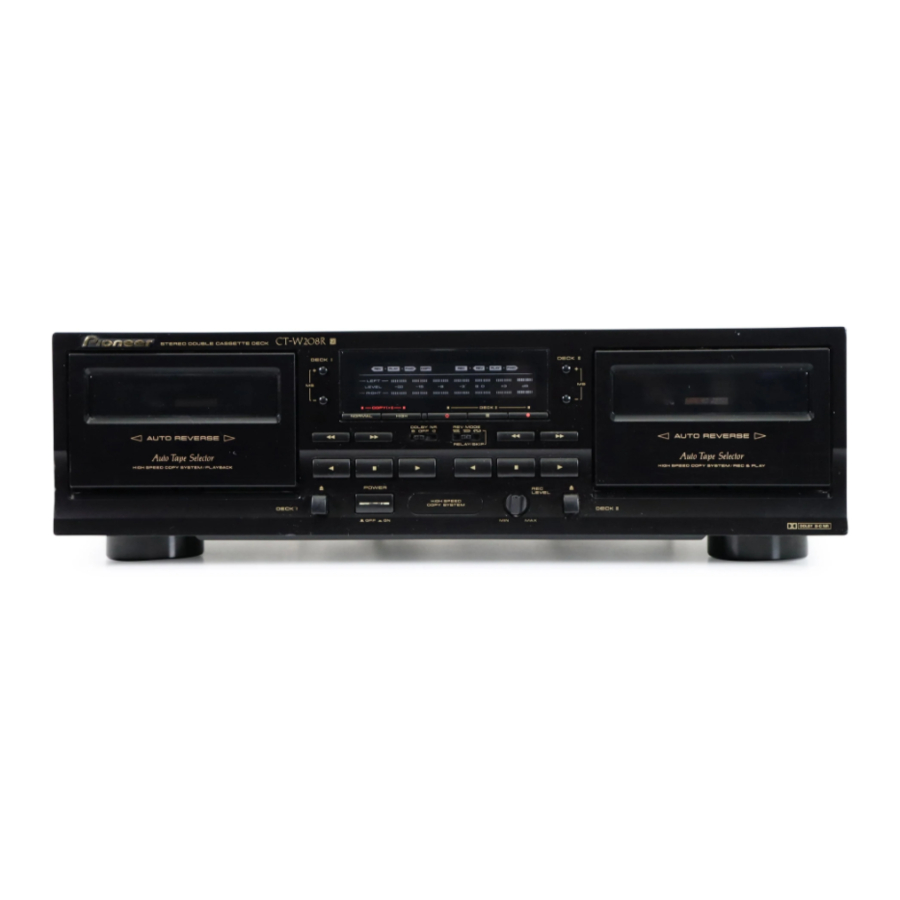
Pioneer CT-W208R - Dual Cassette Deck Gebruiksaanwijzing - Pagina 17
Blader online of download pdf Gebruiksaanwijzing voor {categorie_naam} Pioneer CT-W208R - Dual Cassette Deck. Pioneer CT-W208R - Dual Cassette Deck 20 pagina's. Stereo double
Ook voor Pioneer CT-W208R - Dual Cassette Deck: Catalogus (10 pagina's), Specificaties (1 pagina's), Servicehandleiding (34 pagina's), Gebruiksaanwijzing (32 pagina's), Servicehandleiding (34 pagina's)

Symptom
POOR SOUND QUALITY
÷ The head, pinch rollers and capstans are
Unstable or inter-
rupted sound.
÷ The tape is not uniformly wound.
÷ A tape recorded without Dolby NR is
No high frequen-
cies.
÷ The head is dirty.
÷ A Dolby NR-encoded tape is being played
High frequencies
are
emphasized.
÷ The head is dirty.
Sound from previ-
ous recordings
remains when
rerecording a tape.
÷ Recording level is too high.
The sound is dis-
torted.
÷ The recorded signal itself is distorted.
÷ The head is dirty.
÷ High noise tape is being used.
Too much noise.
÷ Incomplete insertion of a connection
÷ Recording level is too low.
÷ The head is dirty.
÷ The head is magnetized.
OTHERS
÷ Blanks between selections are less than 4
The music search
function does not
work.
÷ The remote control cord is not connected.
Cannot use the
r e m o t e c o n t r o l
system.
Abnormal functioning of this unit may be caused by static electricity, or other external interference. To restore normal op-
eration, turn the power off and then on again, or unplug the AC power cord and then plug it in again.
Cause
dirty.
being played back with the DOLBY NR
switch in the B or C position.
back with the DOLBY NR switch in the
OFF position.
cord, poor contact.
seconds long.
TROUBLESHOOTING
Remedy
÷ Clean the head (see page 5).
÷ Completely fast-forward or rewind the tape.
÷ Set the DOLBY NR switch to OFF.
÷ Clean the head (see page 5).
÷ Set DOLBY NR (B/C) switch to the same
position used for recording.
÷ Clean the head (see page 5).
÷
Turn REC LEVEL control down when
recording(see page 14).
÷ Replace the cassette.
÷ Clean the head (see page 5).
÷ Replace the cassette.
÷ Check connections (see page 7).
÷ Turn REC LEVEL control up when record-
ing (see page 14).
÷ Clean the head (see page 5).
÷ Demagnetize with a head demagnetizer
(see page 5).
÷ Use a tape with blanks more than 4
seconds long.
÷ Connect the remote control cord
(see page 7).
17
