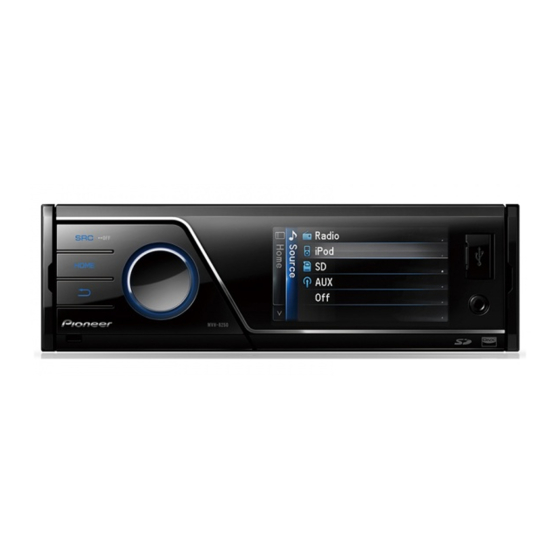
Pioneer MVH-8250BT Installatiehandleiding - Pagina 5
Blader online of download pdf Installatiehandleiding voor {categorie_naam} Pioneer MVH-8250BT. Pioneer MVH-8250BT 32 pagina's. Media center receiver

Installation
WARNING
• To avoid the risk of accident and the potential
violation of applicable laws, no viewing of front seat
video should ever occur while the vehicle is being
driven.
• In some countries or states the viewing of images on
a display inside a vehicle even by persons other than
the driver may be illegal. Where such regulations
apply, they must be obeyed.
CAUTION
• PIONEER does not recommend that you install
or service your display yourself. Installing or
servicing the product may expose you to risk
of electric shock or other hazards. Refer all
installation and servicing of your display to
authorized Pioneer service personnel.
• Secure all wiring with cable clamps or electrical
tape. Do not allow any bare wiring to remain
exposed.
• Do not drill a hole into the engine compartment
to connect the yellow lead of the unit to the
vehicle battery. Engine vibration may eventually
cause the insulation to fail at the point where the
wire passes from the passenger compartment
into the engine compartment. Take extra care in
securing the wire at this point.
• Make sure that wires will not interfere with
moving parts of the vehicle, such as the
gearshift, parking brake or seat sliding
mechanism.
• Do not shorten any leads. If you do, the
protection circuit may fail to work properly.
WARNING
LIGHT GREEN LEAD AT POWER CONNECTOR IS
DESIGNED TO DETECT PARKED STATUS AND MUST
BE CONNECTED TO THE POWER SUPPLY SIDE
OF THE PARKING BRAKE SWITCH. IMPROPER
CONNECTION OR USE OF THIS LEAD MAY VIOLATE
APPLICABLE LAW AND MAY RESULT IN SERIOUS
INJURY OR DAMAGE.
Note
• Check all connections and systems before final
installation.
• Do not use unauthorized parts. The use of
unauthorized parts may cause malfunctions.
• Consult with your dealer if installation requires drilling
of holes or other modifications of the vehicle.
• Do not install this unit where:
— it may interfere with operation of the vehicle.
— it may cause injury to a passenger as a result of a
sudden stop.
• Install this unit away from hot places such as near the
heater outlet.
• Optimum performance is obtained when the unit is
installed at an angle of less than 60°. (Fig. 1)
• When installing, to ensure proper heat dispersal when
using this unit, make sure you leave ample space
behind the rear panel and wrap any loose cables so
they are not blocking the vents.
Leave ample space
10cm
10cm
Installation with the
mounting sleeve
1. Insert the mounting sleeve into the
dashboard.
For installation in shallow spaces, use the
supplied mounting sleeve. If there is enough
space, use the mounting sleeve that came with
the vehicle.
2. Secure the mounting sleeve by using
a screwdriver to bend the metal tabs
(90°) into place. (Fig. 2)
1 Dashboard
2 Mounting sleeve
<CRD4475-A> <5>
English
Dashboard
