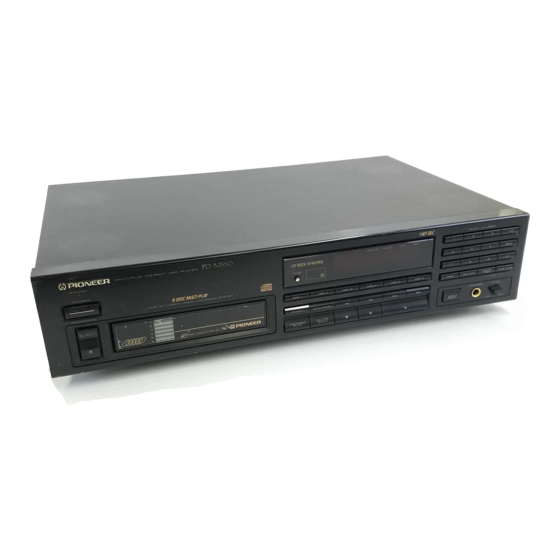
Pioneer PD-M455 Gebruiksaanwijzing - Pagina 6
Blader online of download pdf Gebruiksaanwijzing voor {categorie_naam} Pioneer PD-M455. Pioneer PD-M455 20 pagina's. Multi-player compact disc player

CONNECTIONS
• Make sure that all of the components
are turned off before making connections.
F
Output c///ord
Red_
White
f
CD ,ayo
Poworoo,d
/
CD-DECK SYNCHRO cord
Cassette deck
/
Making connections
[] Connect the OUTPUT jacks of this unit to the input jacks (CD or
AUX) of the amplifier,
Make sure that the white
plugs are
connected to the left (L) jacks and the red plugs to the right (R)
jacks.
•
Be sure not to connect
this unit to the amplifier's PHONO
jacks, as sound will be distorted and normal playback will not
be possible.
[]
Connect the power cord to a household AC wall outlet or an AC
outlet on your amplifier.
•
Make sure plugs are inserted fully into the jacks and wall outlet.
CD-Dack synchro function
If you have a Pioneer cassette deck provided with the CD-Deck
synchro function,
connect
the CD-DECK SYNCHRO jacks of the
CD player and cassette deck, With this function, synchro recording
can be carded out between player and deck.
•
For details on connections
and operation, refer to the instruction
manual supplied with the cassette deck.
•
The CD-DECK SYNCHRO cord is not supplied with the CD player.
System
r
amplifier 1
(Available wit
PD-M550/PD
military zone,'
When
• Pior
connect the
to the CONT
CD player to
with the ster,
is not necess
•
The contr(
•
The ramp1
to control
operation.'
•
For instru
the opera
amplifier.
NOTES:
•
When a o
jack, dire€
not possfl
by aiming
•
Be sure t(
the CONT
only
one
•
Be sure t_
the poweJ
Dmote control
with
a Pioneer
stereo
hat has the [] mark
the PD-M450 and U.S. and Canadian models of the
M455/PD-M453
only: Not available with models for
(multi-voltage types))
ear stereo
amplifier
bearing the []
mark is used,
;ONTROL IN jack on the rear panel of the CD player
_OL OUT jack of the amplifier.
This witl enable the
be controlled
using the remote control unit supplied
Jo amplifier, If you do not plan to use this feature, it
Jry to connect CONTROL IN/OUT jacks.
,I cord is supplied with the CD player.
• control unit supplied with the amplifier can be used
Slay, Stop, Pause, Track!Disc Search and Disc Change
;tions regarding connections
and operation,
refer to
ling instruction
manual provided
with
your
stereo
_ntrol cord is connected to the player's CONTROL IN
! control of the player with the remote control unit is
,le. Operate the player with the remote control unit
¢tat the amplifier.
connect both of the control cord's plugs securely to
_OL tN and CONTROL OUT terminals. Do not connect
nd of the cable.
turn off the power of the ampfifier when connecting
cord and output cord,
BEFOREOPERATINGTHE PLAYER
CARE OF DISCS
•
With this player, use discs which display the mark shown below.
(Optical audio digital discs.)
•
When holding discs, do not touch their signal surfaces. Hold by
the edges, or by one edge and the center hole,
•
Do not affix gummed labels or tape to the label surfaces. Also,
do not scratch or damage the label
•
Discs rotate at high speed inside the player.
Do not use
damaged [cracked or warped) discs.
DIGITAL
AUDIO
6
<PRB1142>
En
