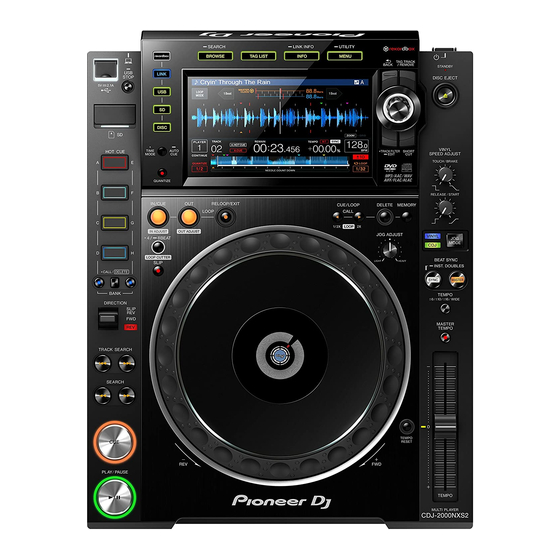
Pioneer CDJ-2000NXS2 Gebruiksaanwijzing - Pagina 37
Blader online of download pdf Gebruiksaanwijzing voor {categorie_naam} Pioneer CDJ-2000NXS2. Pioneer CDJ-2000NXS2 43 pagina's. Multiplayer
Ook voor Pioneer CDJ-2000NXS2: Gebruiksaanwijzing (17 pagina's), Snelstarthandleiding (4 pagina's), Aansluithandleiding (7 pagina's)

Using the DJ software
Operating the DJ software
This unit outputs the operation information of buttons and controls, etc.
in universal MIDI or HID format. When connected by a USB cable to a
computer on which a MIDI- or HID-compatible DJ software program is
installed, the DJ software can be operated from this unit. The sound of
the music file that is playing on the computer can be output from this
unit.
To use this unit as an audio device, install the driver software on the
computer beforehand (p. 8 ). This unit must also be selected in the DJ
software's audio output device settings. For details, see your DJ soft-
ware's operating instructions.
1 Connect the USB port on this unit to your computer.
For instructions on connections, see Using the DJ software on
page 12 .
2 Press the [BROWSE/SEARCH] button, and then press
the [LINK] button.
[CONTROL MODE] and [USB-MIDI] are displayed on the menu screen.
3 Select [CONTROL MODE] and enter.
The connecting screen is displayed.
4 Select [USB-MIDI] and enter.
This unit switches to the control mode.
5 Launch the DJ software.
Communication with the DJ software starts.
! The DJ software on the computer can be operated using the buttons
and rotary selector on this unit.
! It may not be possible to use some buttons to operate the DJ
software.
! The control mode is canceled when a track is loaded in this unit.
! For messages output by this unit, see List of MIDI Messages on
page 38 .
Changing the MIDI channel setting
This operation is not necessary if the operation information is output in
HID format.
1 Press the [MENU/UTILITY] button for over 1 second.
The utility screen appears.
2 Select [MIDI CHANNEL] and enter.
3 Turn the rotary selector.
Select the MIDI channel and change the setting. A setting from 1 – 16
can be selected.
4 Press the rotary selector to enter.
5 Press the [MENU/UTILITY] button.
The previous screen reappears.
37
En
