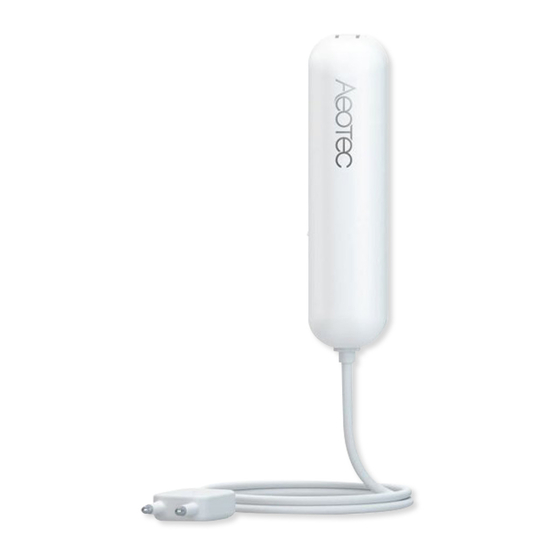
Aeotec Water Sensor 7 Pro Gebruikershandleiding - Pagina 3
Blader online of download pdf Gebruikershandleiding voor {categorie_naam} Aeotec Water Sensor 7 Pro. Aeotec Water Sensor 7 Pro 9 pagina's. Water sensor
Ook voor Aeotec Water Sensor 7 Pro: Handmatig (3 pagina's), Snelstarthandleiding (8 pagina's), Gebruikershandleiding (13 pagina's), Gebruikershandleiding (14 pagina's), Gebruikershandleiding (9 pagina's)

Quick Start
Installation of Water Sensor 7 Pro.
Open the cover by pressing the clip on the side and pulling the cover upwards.
Insert a fresh 1 * 1/2 AA battery, but pay attention to the polarity
Install your Water Sensor 7 Pro.
The Water Sensor 7 should be placed wherever you want to monitor for possible flooding or leaks. When placing the
Water Sensor 7, consider the direction in which a flood or leak may flow and where it may occur. The contacts of the
Water Sensor 7 probe will detect the liquid, so the probe must be placed so that any flood or leak will come into contact
with it. When the probe contacts come into contact with a liquid, the Water Sensor 7 sends a leak warning to your Z-Wave
Gateway. Make sure that both contacts are capable of detecting leaks or flooding.
Adding your Water Sensor 7 to Z-Wave network.
SmartStart Inclusion.
You can use this method of inclusion only if your Z-Wave gateway/controller/hub supports SmartStart.
1.
Open up your Z-Wave gateway/controller/app.
2.
Select SmartStart inclusion.
3.
Scan the QR code located on the Water Sensor 7.
4.
Within 10 minutes after powering your Water Sensor 7, it will automatically get included into your Z-Wave
gateway/controller/hub.
Classic Inclusion
1. Set your Z-Wave controller into pairing mode.
2. Triple-click the tamper switch on Water Sensor 7 - this begins to blink five times
3. After completion of the inclusion, the LED will illuminate green for 3 seconds.
4. If you pairing with S2 encryption/security, enter the first 5 digits of the DSK into your controller/gateway/hub
interface when requested.
5. Close the cover
