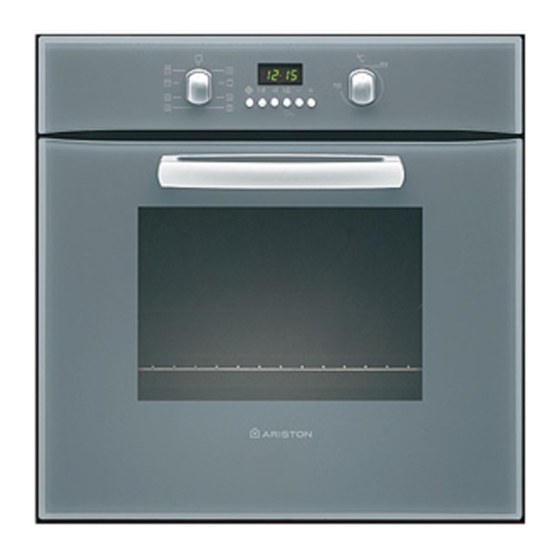
Ariston FB 86 P Handleiding voor installatie en gebruik - Pagina 36
Blader online of download pdf Handleiding voor installatie en gebruik voor {categorie_naam} Ariston FB 86 P. Ariston FB 86 P 50 pagina's. Multifunction oven with self-cleaning by fast clean
Ook voor Ariston FB 86 P: Handleiding voor installatie en gebruik (15 pagina's)

Built-in installation
This oven can be built into all standard furniture cabinet
units featuring dimensions conforming to European
standards.No particular precautions need to be taken
when performing the built-in installation of the oven, thanks
to:
- its reinforced insulation that limits the heat exchanges
- its frontal cooling ventilation requiring no air inlet.
Installation must be performed by a qualified professional
and in all cases in compliance with the safety norms in
force, failing which the appliance guarantee will not be
valid in the event of an accident caused by incorrect
installation.
This is also important for the safety of the user and the
long life of your appliance.
Installation
The panels of the adjacent cabinets must be made of heat-
resistant material. In particular, cabinets with a veneer exte-
rior must be assembled with glues which can withstand
temperatures of up to 100°C.
In compliance with current safety standards, contact with
the electrical parts of the appliance must not be possible
once it has been installed.
All protective parts which ensure the safe operation of the
appliance must be removable only with the aid of a tool.
Built-in installation of FO97 P - FD97 P - FD96 P - FB86 P
Position the 4 tabs on the sides of the oven in correspondence
with the 4 holes on the perimeter of the frame. In particular,
if the cabinet side panel:
•
is 20 mm thick: the removable part of the tab must be
removed (Fig. A);
•
is 18 mm thick: use the first groove, which is factory-set
(Fig. B);
•
is 16 mm thick: use the second groove (Fig. C).
To fasten the oven to the cabinet, open the oven door
and screw the 4 screws (supplied with the appliance) into
the 4 holes located on the perimeter of the frame.
36
Fig. A
Fig. C
Fig. B
