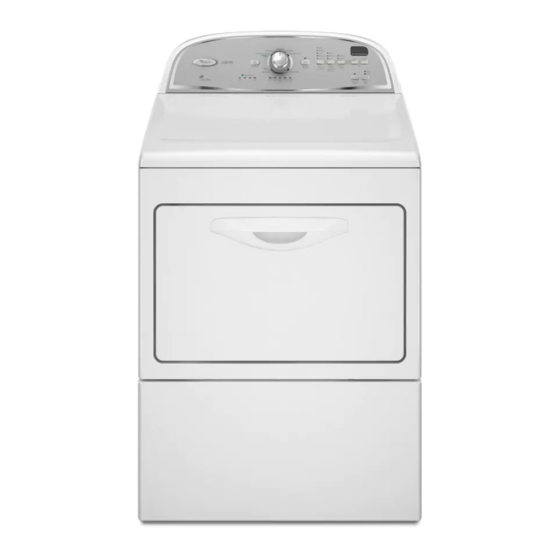
Whirlpool LER3622PQ Gebruiks- en onderhoudshandleiding - Pagina 3
Blader online of download pdf Gebruiks- en onderhoudshandleiding voor {categorie_naam} Whirlpool LER3622PQ. Whirlpool LER3622PQ 20 pagina's. Cabrioâ® high efficiency electric dryer with accudryâ„¢ drying system ventilation specification
Ook voor Whirlpool LER3622PQ: Afmetingen (1 pagina's), Gebruiks- en onderhoudshandleiding (20 pagina's), Gebruiksaanwijzing (8 pagina's)

WARNING:
To reduce the risk of fire, electric shock, or injury to persons when using the dryer, follow basic precautions,
including the following:
Read all instructions before using the dryer.
Do not place items exposed to cooking oils in your dryer.
Items contaminated with cooking oils may contribute to
a chemical reaction that could cause a load to catch fire.
Do not dry articles that have been previously cleaned in,
washed in, soaked in, or spotted with gasoline, dry-
cleaning solvents, or other flammable or explosive
substances as they give off vapors that could ignite or
explode.
Do not allow children to play on or in the dryer. Close
supervision of children is necessary when the dryer is
used near children.
Before the dryer is removed from service or discarded,
remove the door to the drying compartment.
Do not reach into the dryer if the drum is moving.
Do not install or store the dryer where it will be exposed
to the weather.
Do not tamper with controls.
Tools and Parts
Tools needed
Gather the required tools and parts before starting installation.
Read and follow the instructions provided with any tools listed
here.
Flat-blade screwdriver
#2 Phillips screwdriver
Adjustable wrench
Wire stripper (direct wire
installations)
Level
¼" nut driver
Parts supplied
Remove parts package from the dryer drum. Check that all parts
listed are included.
1 - Cycle Control (timer) knob
1 - Push to Start button
4 - Leveling legs
Parts needed
Check local codes, existing electrical supply and venting, and
see "Venting Requirements" and "Electrical Requirements"
before purchasing parts.
Mobile home installations require
Metal exhaust system hardware. For information on ordering,
please refer to the "Assistance or Service" section. You may
also contact the dealer from whom you purchased your dryer.
IMPORTANT SAFETY INSTRUCTIONS
SAVE THESE INSTRUCTIONS
INSTALLATION INSTRUCTIONS
Vent clamps
Caulking gun and
compound (for installing
new exhaust vent)
Tin snips (new vent
installations)
Wood block
Do not repair or replace any part of the dryer or attempt
any servicing unless specifically recommended in this
Use and Care Guide or in published user-repair
instructions that you understand and have the skills to
carry out.
Do not use fabric softeners or products to eliminate static
unless recommended by the manufacturer of the fabric
softener or product.
Do not use heat to dry articles containing foam rubber or
similarly textured rubber-like materials.
Clean lint screen before or after each load.
Keep area around the exhaust opening and adjacent
surrounding areas free from the accumulation of lint, dust,
and dirt.
The interior of the dryer and exhaust vent should be
cleaned periodically by qualified service personnel.
See installation instructions for grounding requirements.
Location Requirements
WARNING
Explosion Hazard
Keep flammable materials and vapors, such as
gasoline, away from dryer.
Place dryer at least 18 inches (46 cm) above the floor
for a garage installation.
Failure to do so can result in death, explosion, or fire.
You will need
A location that allows for proper exhaust installation. See
"Venting Requirements."
A separate 30-amp circuit.
A grounded electrical outlet located within 2 ft (61 cm) of
either side of the dryer. See "Electrical Requirements."
A sturdy floor to support the dryer weight (dryer and load) of
115 lbs (52 kg). The combined weight of a companion
appliance should also be considered.
A level floor with a maximum slope of 1" (2.5 cm) under entire
dryer.
3
