Whirlpool WH8010B Installatie-instructies en gebruiks- en onderhoudshandleiding - Pagina 4
Blader online of download pdf Installatie-instructies en gebruiks- en onderhoudshandleiding voor {categorie_naam} Whirlpool WH8010B. Whirlpool WH8010B 15 pagina's. 23.6", 30", and 31.5" (60 cm, 76 cm, and 80 cm)
Installation in Recirculating Version (Standard)
This product can be installed in two different ways:
1. Mounted on the kitchen wall using anchors and screws.
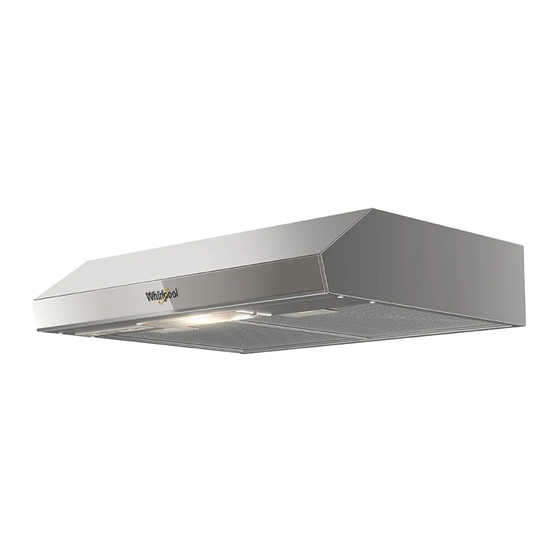
2. Under-cabinet mounting.
Mounted on the Kitchen Wall Using Anchors and Screws
1. Remove the filters from the hood using the "B" safety
latches.
2. Place the hood on the wall and mark the points where
the drill-holes are to be made with a pencil (Fig.1).
3. Remove the hood.
4. Drill 4 holes in the wall and fit the anchors and screw
7
You can also convert your hood to the ducted version by
contacting the Whirlpool Solutions Center. See the contact
information at the end of this manual.
5.
in the 2 self-tapping screws without allowing the heads
to reach the wall (Fig. 2).
6.
Place the hood on the wall so that the screws enter
the drill- holes "C" behind the hood.
7.
Fit the 2 safety screws.
8.
Tighten the self-tapping screws and refit the bottom
cover.
9.
Connect the hood's plug "D" to the wall socket "E"
(Fig. 2).
NOTE: The bottom of the hood should be located at a
minimum height of 253/5" (65 cm) from an electrical range
top or grill and 291/2" (75 cm) from a gas range top or grill.
Under-Cabinet Mounting
1. Remove the bottom cover of the hood using the safety
latches "B" (Fig. 4).
2. Place the hood inside the cabinet (Fig. 3). Make sure that the
ventilation slats are not blocked.
3. Bolt the hood to the cabinet with the wooden screws
(supplied) (Fig. 3).
4. Refit the bottom cover.
5. Connect the hood's plug "D" to the wall socket "E"
(Fig. 4).
8
Ducted Installation (Optional)
The hood you have purchased can also operated in ducted
mode, i.e. the contaminated air is vented outside through a duct
(not included). To do so you must remove the charcoal filter.
You can choose top or rear venting, which will depend on where
the hood is to be located.
For top venting: The customer will need to purchase the
following accessories:
Round duct with inner diameter of 125 mm.
Plastic air round transition with non-return valve (A1).
If necessary, a flexible elbow.
For rear venting: The customer will need to purchase the
following accessories:
254 mm x 83 mm inner measurement (A3) rectangular duct.
Rectangular air transition sheet with non-return valve (A2).
1. Remove metal wall C or R, depending on the type of venting
chosen, and mount air transition A1 or A2, as applicable.
2. One end of the duct should be connected to the hood, and the
other end to the outside of the range by making a hole in the wall
(Fig.5).
3. Make sure that there is no room on the other side of the wall.
4. Following installation, make sure that the selector inside the hood
is set to position A (Fig. 6).