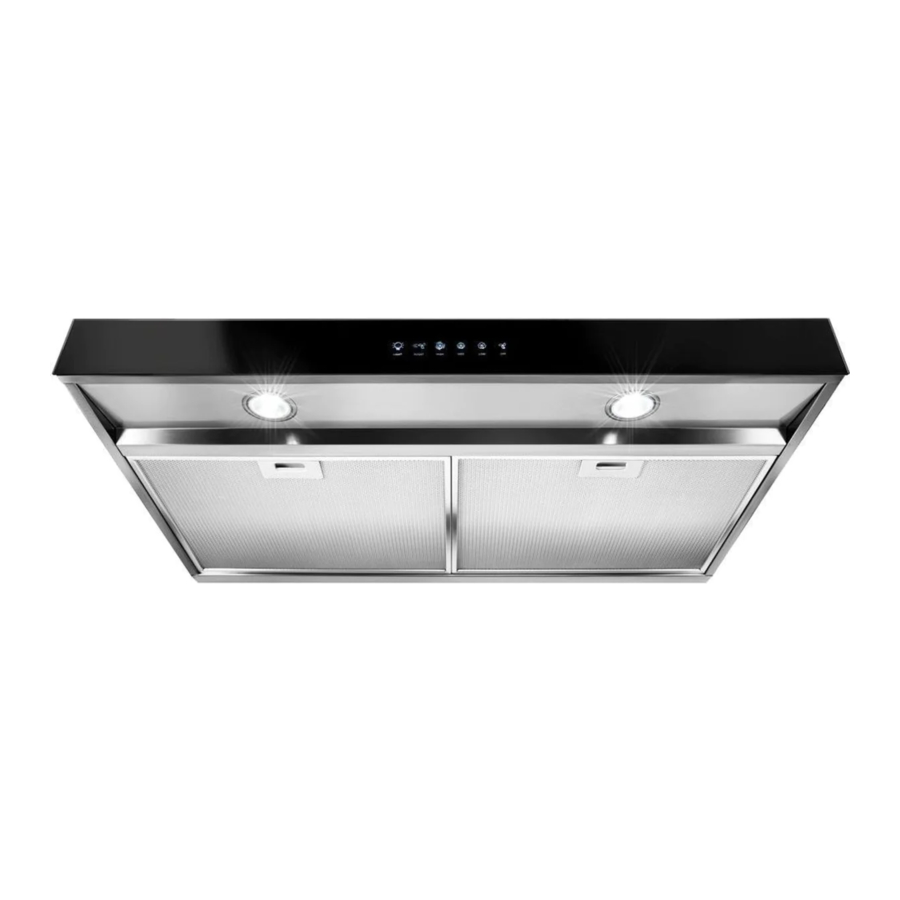
Whirlpool WVU57UC6F Installatie-instructies en gebruiks- en onderhoudshandleiding - Pagina 9
Blader online of download pdf Installatie-instructies en gebruiks- en onderhoudshandleiding voor {categorie_naam} Whirlpool WVU57UC6F. Whirlpool WVU57UC6F 36 pagina's. 30 inch (76.2 cm) and 36 inch (91.4 cm)
Ook voor Whirlpool WVU57UC6F: Installatie-instructies en gebruiks- en onderhoudshandleiding (36 pagina's)

Style 1 - Cut Openings for 3¼" x 10"
(8.3 cm x 25.4 cm) Rectangular Vent System
Roof Venting
To make a 4¹⁄
" x 10½" (10.8 cm x 26.7 cm) rectangular
4
cutout on the underside of cabinet top and bottom:
1. Mark lines ¹⁄
" (1.3 cm) and 4³⁄
2
on the centerline of the underside of cabinet.
2. Mark lines 5¼" (13.3 cm) to the right and left of the centerline
on the underside of cabinet.
3. Use saber or keyhole saw to cut a rectangular opening for
vent.
4. Repeat steps 1-3 for the underside of the top of the cabinet.
Cabinet cutouts
*From wall, not cabinet frame
A.
/
1
B. 4
Wall Venting
To make a 3½" x 10½" (8.9 cm x 26.7 cm) rectangle in the
wall:
1. Make 2 lines by measuring ³⁄
down from underside of cabinet and mark on the centerline
on the back wall.
2. Mark lines 5¼" (13.3 cm) to the right and left of the centerline
on the wall.
3. Use saber or keyhole saw to cut a rectangular opening in the
wall for the vent.
Cabinet
front
⅜"
(0.9 cm)
3⅞"
(9.8 cm)
(13.3 cm)
Style 2 - Cut Openings for 3¼" x 10" (8.3 x 25.4 cm)
Rectangular Vent to Round Vent Transition
Roof Venting
To make a 4¹⁄
" x 10½" (10.8 cm x 26.7 cm) rectangular
4
cutout on the underside of cabinet bottom:
1. Mark lines ¹⁄
" (1.3 cm) and 4³⁄
2
on the centerline of the underside of cabinet.
2. Mark lines 5¼" (13.3 cm) to the right and left of the centerline
on the underside of cabinet.
3. Use saber or keyhole saw to cut a rectangular opening for
vent.
" (12.1 cm) from the back wall
4
A
B
" (1.3 cm)*
2
3
/
" (12.1 cm)*
4
" (0.9 cm) and 3
⁄
" (9.8 cm)
7
8
8
Centerline
¼
5
¼
"
5
"
(13.3 cm)
" (12.1 cm) from the back wall
4
*From wall, not cabinet frame
A.
/
1
B. 4
To make a circular vent opening on the underside of the
cabinet top:
1. Mark a centerline on the underside of the top of cabinet.
2. Mark a line 5" (12.7 cm) from the back wall on the underside
of the top of cabinet.
3. Use a compass or a circle template to draw a circle with a
diameter that is ¼" (0.64 cm) larger than the vent.
4. Use saber or keyhole saw to cut the circular vent opening.
Circular vent opening
A
*From wall, not
cabinet frame
A. 5" (12.7 cm)*
Style 3 - Cut Openings for 7" (17.8 cm) Round Vent
To make a circular vent openings on the underside of the
cabinet top and bottom:
1. Mark a centerline on the underside of the top of cabinet.
2. Mark a line 5" (12.7 cm) from the back wall on the underside
of the top and bottom of cabinet.
3. Use a compass or a circle template to draw a circle with a
diameter that is ¼" (0.64 cm) larger than the vent.
4. Use saber or keyhole saw to cut the circular vent opening.
A
*From wall, not
cabinet frame
A. 5" (12.7 cm)*
A
B
" (1.3 cm)*
2
/
" (12.1 cm)*
3
4
Cabinet
cutouts
9
