Backyard Pro Butcher Series Gebruiksaanwijzing - Pagina 2

Blader online of download pdf Gebruiksaanwijzing voor {categorie_naam} Backyard Pro Butcher Series. Backyard Pro Butcher Series 6 pagina's. Meat tenderizer motor
Ook voor Backyard Pro Butcher Series: Gebruiksaanwijzing (11 pagina's), Gebruiksaanwijzing (5 pagina's), Gebruiksaanwijzing (5 pagina's), Gebruiksaanwijzing (7 pagina's), Gebruiksaanwijzing (11 pagina's), Gebruiksaanwijzing (6 pagina's), Gebruiksaanwijzing (5 pagina's), Gebruiksaanwijzing (4 pagina's), Gebruiksaanwijzing (8 pagina's), Gebruiksaanwijzing (4 pagina's)
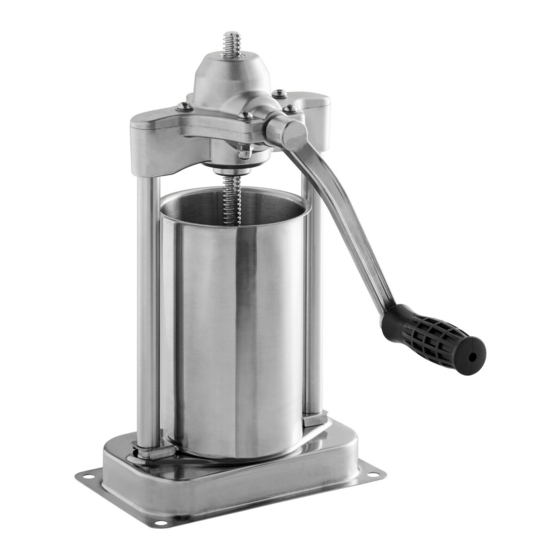
Backyard Pro Butcher Series Gebruiksaanwijzing
General Information and Instructions
INTRODUCTION
Thank you, and congratulations on purchasing a Backyard Pro Butcher Series meat mixer. Your mixer
comes complete with everything you need to safely and easily mix meat. Please take a few minutes
to read through this booklet to learn more about your Backyard Pro Butcher Series meat mixer. Your
mixer is made of the finest materials to ensure extended use for all of your meat processing needs.
TECHNICAL DETAILS
Item No.
554BSMM20
554BSMM44
ASSEMBLY AND OPERATION INSTRUCTIONS
The stainless steel meat mixer provides a quite easy way to mix meat and your favorable fixing together
with clean steel structure and comfortable wood crank. It is convenient for install and transport, and
could be used at restaurant, refectory, and private dining room, etc. Before using the stainless steel
meat mixer, please read the following instructions carefully.
554BSMM20 ASSEMBLY
Step 1: Take all parts out of #1 the meat tank, only leaving #5 the axle with paddles inside, with the
axle fluted end towards the hole of shorter axle support outside.
Step 2: Put the #4 copper bolt together with #3 spring through the hole of the longer axle support
outside, with the thread end outwards, and tighten #2 the grip with female thread and the #4
copper bolt together. Then fit the axle and the copper bolt inside the tank by the elastic force
of the spring.
Step 3: To make #7 the crank and the #5 axle gripped together by the step on crank's copper flange
and axle's fluted end. Then insert #8 the grip with bolt through the hole of crank and axle to
screw them tightly. To turn #7 the crank clockwise or counter-clockwise, the paddle will be
rotated smoothly.
554BSMM44 ASSEMBLY
Step 1: Take all parts out of #1 the meat tank, only leaving #6 the axle with paddles inside, with the
axle fluted end towards the hole of shorter axle support outside.
Step 2: Fix crank #15 onto the machine body through bolt #2
2
Tank Capacity
4.2 gallons
7 gallons
Working Capability
Up to 20 lbs.
Up to 44 lbs.