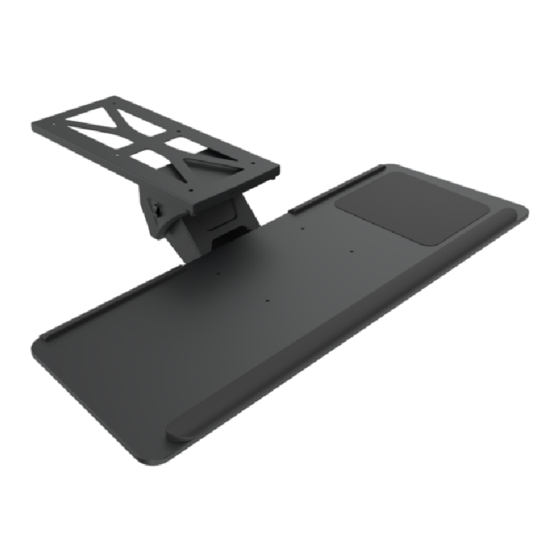
Ergo PrimeCables Cab-PC-08238 Installatiehandleiding
Blader online of download pdf Installatiehandleiding voor {categorie_naam} Ergo PrimeCables Cab-PC-08238. Ergo PrimeCables Cab-PC-08238 2 pagina's.

Model: Cab-PC-08238
STEP 1-A
Option A: Install panel to the table board(Unobstructed table)
Reserve the according place
1
and mark the positions for
drilling.
106
35mm from table edge
Attention
Install the panel where the keyboard
tray should be installed .
Drill the marked positions.
STEP 1-B
Option B: Angled corners are suitable for table bottoms with beams (covered table tops)
Corner Connector
M5x6 screws
Reserve the according place and
Beam Height≤60mm
mark the positions for drilling.
174
Beam
55mm from table edge
Attention: Install the panel where the
Drill the marked positions.
keyboard tray should be installed .
C
St4.8x20mm
5 washer
M4x8mm
M5x12mm
Cable Clip
(8PCS)
(8PCS)
(2PCS)
(4PCS)
(2PCS)
Corner Connector
Plastic Cap
M5x6 Screws
(4PCS)
(1PC)
(8PCS)
Long Pad
(1PC)
Installation Panel
(1PC)
Keyboard Tray
(1PC)
Holder
(1PC)
Attention
The panel opening should be outward
during the installation.
Install the panel under the table
board with screws A and washers
B, and then tighten the screws.
Attention: Do not install the panel at the
panel opening.
≥
300mm
Install the panel under the table board with screws A
and washers B, and then tighten the screws.
STEP 1-C
Option C: Angled corners are suitable for table bottoms
with beams (covered table tops)
Corner Connector
M5x6 screws
Beam Height≤60mm
Reserve the according place and
mark the positions for drilling.
174
34
Beam
55mm from table edge
Attention: Install the panel where the
Drill the marked positions.
keyboard tray should be installed .
STEP 2
Install holder
Install the holder in the
panel opening.
STEP 3
Install keyboard tray
Long Pad
Choose to install the long pad or
not according to actual needs.
Attention
The panel opening should be outward
during the installation.
≤
300mm
Install the panel under the table
board with screws A and washers
B, and then tighten the screws.
Install the plastic cap to the panel opening.
Install and tighten screws C.
Screwdriver
Install the keyboard tray, fix it with screw(D)
2
Screwdriver
D
Caution: If the keyboard tray can't
match the mounting holes, please
loosen the rotary knob in the lower
Rotary knob
right before installation.
C
