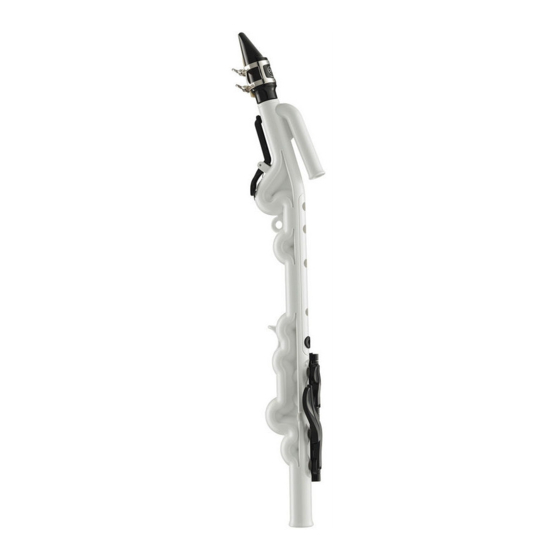
Yamaha Venova YVS-100 Gebruikershandleiding - Pagina 7
Blader online of download pdf Gebruikershandleiding voor {categorie_naam} Yamaha Venova YVS-100. Yamaha Venova YVS-100 10 pagina's. Wind instrument
Ook voor Yamaha Venova YVS-100: Handboek (26 pagina's), Handmatig (26 pagina's), Handmatig (26 pagina's)

Before Playing
Attaching the Mouthpiece
Use a cloth to remove any dust or foreign
substance from the neck joint before
attaching the mouthpiece.
1 Grasp the mouthpiece firmly, and
slide the mouthpiece straight onto the
neck joint until it stops at the body.
2 Slide the ligature onto the mouth-
piece from its tapered end.
3 Attach the reed onto the mouthpiece.
First, place the reed so that the top
edge of the mouthpiece is visible
over the end of the reed, and then
tighten the ligature screws (2) to
secure the reed.
Reed
For more detailed instructions on
attaching the reed, please refer to the
accompanying "Let's play Venova™ !"
booklet.
About Tuning
Basically, the Venova does not require
tuning. The instrument is designed to play
tuned to A=442Hz when the mouthpiece is
slid all the way onto the instrument. If the
instrument needs to be tuned to another
pitch, it can be tuned lower by pulling the
mouthpiece slightly away from the body.
Since the temperature of the inside of the
instrument affects the tuning (particularly
when cold), blow into the instrument to
warm it before tuning it.
• Take care not to pull the mouthpiece
Slide this out to lower the pitch
(but avoid sliding it out too far)
Laying the Instrument Down
When the instrument is not being played,
place it on a flat surface as shown in the
illustration below. Do not place the instru-
ment on a chair, music stand, or other
such unstable surfaces, as there is a risk
of the instrument falling. Also, never lean
Ligature
the instrument up against a wall, etc.
screws
too far out. Pulling too far can result
in poor pitch balance making it hard
to play.
Place the instrument with the
keys facing up, to prevent them
from touching the surface.
Owner's Manual
7
