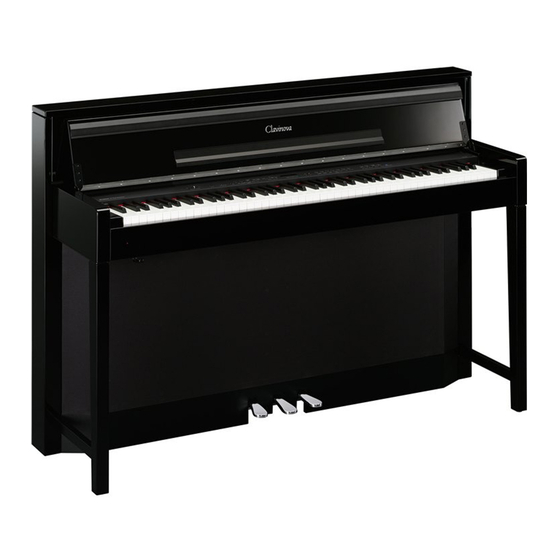
Yamaha Clavinova CLP-370 Installatieprocedure
Blader online of download pdf Installatieprocedure voor {categorie_naam} Yamaha Clavinova CLP-370. Yamaha Clavinova CLP-370 2 pagina's. Yamaha clavinova midi data format
Ook voor Yamaha Clavinova CLP-370: Midi-gegevensformaat (7 pagina's)

Clavinova
Caution:
Do not turn off the power or remove the USB flash memory during this operation.
1
Downloading the upgrade data
1) Download the Zip file.
2) Extract the file included in the Zip file.
3) Insert the USB flash memory into your computer.
4) Copy the file into the root directory of the USB flash memory.
2
Connecting the USB flash memory
Insert the USB flash memory containing the appropriate upgrade data
to the USB TO DEVICE terminal on the instrument.
Caution:
Make sure that the USB flash memory is connected properly to the terminal.
Do not try to force an incorrect connection; doing so may damage the terminal.
3
Installing the upgrade data
Simultaneously hold down the [PLAY/STOP] button on the panel and turn on the power.
Keep holding down the [PLAY/STOP] button until "UPd" message displays, then the LED of
"GRAND PIANO1" starts to flash.
☆ Confirm the Clavinova has completed access to the USB-Device.
4
Executing the installation
1. Press the [GRAND PIANO2] button to start the installation, then the LED of "GRAND PIANO2"
starts to flash.
CLP-S308/S306/370/340 Installation Procedure
