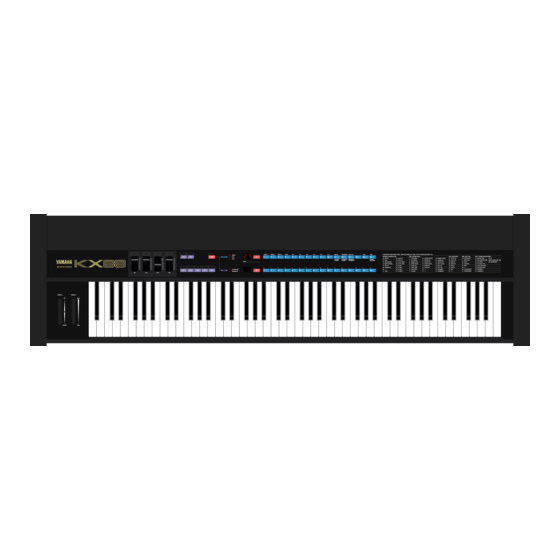
Yamaha KX88 Geautoriseerde producthandleiding - Pagina 20
Blader online of download pdf Geautoriseerde producthandleiding voor {categorie_naam} Yamaha KX88. Yamaha KX88 38 pagina's. Midi master keyboard
Ook voor Yamaha KX88: Gebruikershandleiding (38 pagina's), Gebruikershandleiding (38 pagina's), Servicehandleiding (17 pagina's)

Controller Code 40 = Modulation Wheel
Actually, most of the MIDI control changes you will use
are already preset as controller codes 10-27. But just as an
example, let's define controller code 40 as Modulation
Wheel. The MIDI control change number for Modulation
Wheel is 01. (see MIDI data list on page 11)
Enter PA mode by pressing the mode switch for about 1
second while in CA mode. The upper readout will show
PA.
Press bank A switch 11 (CONTROL CHANGE). The
upper readout will show CC.
Enter the controller code that you want to define (in
this example, 40), using the bank B switches 0-F.
Enter the MIDI control number you want. (in this
example, 01)
Enter the DATA TYPE. (0, 1 or 2) This will only apply
to Foot Switches 1 and 2. (for details, see page 00.)
For now, just enter 0.
Go to CA mode and assign controller code 40 to a
controller, for instance CS3. Then, go to PLAY mode an
try out CS1. It will perform the same function as the
Modulation Wheel.
In reality, of course, it would have been much simpler
just to assign controller code 11 (which is already preset
as Modulation Wheel), without bothering with PA mode.
The above example is for your future reference.
PARAMETER CHANGE
n
Use this to define a controller code as a SYSTEM EXCLU-
SIVE: PARAMETER CHANGE. System Exclusive messages
include an ID byte which is different for each manufac-
turer. So, controller codes you define here will affect only
Yamaha MIDI products. You may use Parameter Change to
change any voice parameter of the tone generating unit.
Controller code 41 = Op. 6 Frequency Fine
As an example, let's try changing the Op. 6 Frequency Fine
of the DX7 (or TX).
Enter PA mode from CA mode (if you are not already
in), by pressing MODE for about 1 second. The upper
readout will show PA.
Press bank A switch 12. (PARAMETER CHANGE) The
upper readout will show PC.
Enter the controller code you want to define, using the
bank B switches O-F. In this case, let's define controller
code 41.
The upper readout shows LM (Limit). This is where you
set an upper limit to the data number. If you check the
DX, you will find that the Op. 6 Frequency Fine has a
range of 0 to 99. So, choose a limit of 99 by pressing
bank B switch 6. (For details why, see page 00)
Now the upper readout will show G. (Group) Look in
the DX7 MIDI data list and find the group number for
the parameter you want. In this case it is 00, so enter 00.
- 1 8 -
