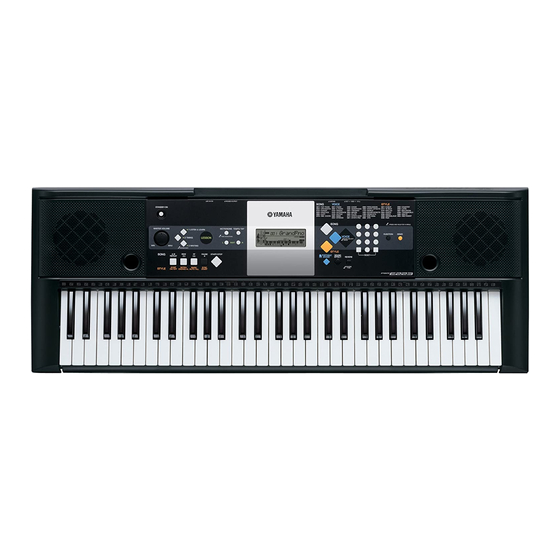
Yamaha PSR-E223 Handmatig - Pagina 22
Blader online of download pdf Handmatig voor {categorie_naam} Yamaha PSR-E223. Yamaha PSR-E223 41 pagina's. Yamaha psr-e223 (ypt-220) digital keyboard data list
Ook voor Yamaha PSR-E223: Gegevenslijst (3 pagina's)

PSR-E223/YPT-220
TEST No
LCD display
20
020: SW Chk
28
028: LCD On
29
029: LCD Off
31
031: PD1 Chk
37
037: MIDI Chk
41
041: Rom Chk2
48
048: TestExit
•
Other Tests
Popping Noise Check
Connect the oscilloscope to the L/R of the [PHONES/OUTPUT] jack and turn on and then off the [STANDBY/ON] switch. Make
sure that popping noise level is 1.0 Vp-p or less, and that no abnormal sound or popping noise is output from the speakers.
Noise Level Check
Connect the level meter (with JIS-C fi lter) to the L/R of the [PHONES/OUTPUT] jack. (33 Ω load)
Set the [MASTER VOLUME] to the maximum level and check the noise level.
· PHONES L, R: –75 dBu or less
Switch test item list
Turn
SW Name
1
1 LISTENING & LEARN Lesson
2
2 TIMING
3
3 WAITING
4
METRONOME
5
TEMPO/TAP
6
PART L
7
PART R
8
SONG
9
VOICE
10
STYLE
11
TENKEY 1
12
TENKEY 2
13
TENKEY 3
14
TENKEY 4
15
TENKEY 5
16
TENKEY 6
22
Test descriptions, judging conditions, etc.
Checks the switches on the panel. Press the switches as shown in the LCD. When a switch is
pressed, a sound is played at the prescribed pitch. (Refer to the Switch test item list)
Make sure that "SW OK" is displayed on the LCD when all the switches are pressed as indicated. To
cancel the operation halfway, press the lowest key (white key C1) to return to the item selection display.
Make sure that all the dots on the LCD are turned on.
Make sure that all the dots on the LCD are turned off.
Connect a footswitch (FC-4 or FC-5) to the [SUSTAIN] jack.
Check that C3 sound is played when the [Start/Stop] button is pressed with the pedal depressed and
that C4 sound is played when the pedal is released. Depress the pedal again and the sound will be
stopped.
Make sure that "PD1 OK" is displayed on the LCD.
Connect the [MIDI IN] jack and [MIDI OUT] jack with a MIDI cable and then execute the test.
Confi rm that the C4 note is output and "MIDI OK" is displayed on the LCD.
Checks the ROM connected to the CPU bus.
Make sure that "Rom OK" is displayed on the LCD.
It will take about 5 seconds for the check.
This will leave the test program and change to the play mode.
LCD Display
Note Number
C2
Timing
C#2
Waiting
D2
Metro
D#2
Temp/TAP
E2
Left
F2
Right
F#2
Song
G2
Voice
G#2
Style
A2
Tenkey 1
A#2
Tenkey 2
B2
Tenkey 3
C3
Tenkey 4
C#3
Tenkey 5
D3
Tenkey 6
D#3
Turn
SW Name
17
TENKEY 7
18
TENKEY 8
19
TENKEY 9
20
TENKEY –
21
TENKEY 0
22
TENKEY +
23
FUNCTION
24
DEMO
25
A-B REPEAT
26
REW
27
FF
28
PAUSE
29
START/STOP
30
PORTABLE GRAND
31
SOUND EFFECT
32
REVERB
LCD Display
Note Number
Tenkey 7
E3
Tenkey 8
F3
Tenkey 9
F#3
Tenkey ‒
G3
Tenkey 0
G#3
Tenkey +
A3
Function
A#3
Demo
B3
AB Rep
C4
Rew
C#4
FF
D4
Pause
D#4
StartStp
E4
GP
F4
SoundEff
F#4
Reverb
G4
