Point 2
Position the left and right speakers
symmetrically.
The left and right speakers should be positioned as
symmetrically as possible in relation to the room. In
other words, the left and right speakers should be the
same distance from the rear wall and the respective left
and right walls.
Point 3
The optimum listening position is at the apex of
an equilateral triangle.
For the most accurate sound and balance, position
yourself at the apex of an equilateral triangle formed by
the left and right speakers and yourself, with the
speakers angled inward so that they're facing you.
Point 4
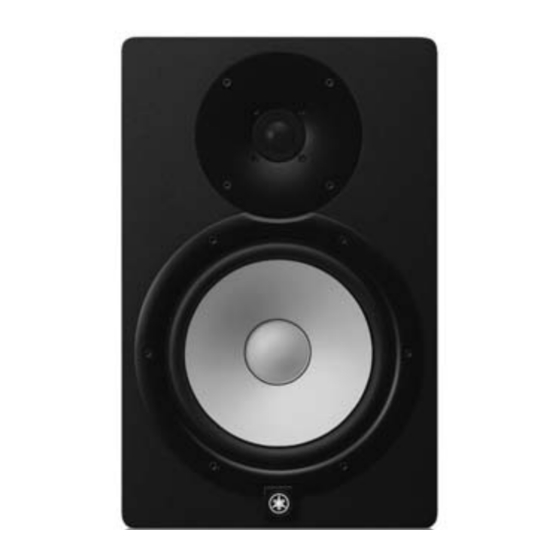
Position the tweeters at ear height.
High frequencies are quite directional, so for the most
accurate monitoring the speakers should be set up so
that the tweeters are at approximately the same height
as your ears when you're seated at the listening
position.
HS8/HS7/HS5 Settings
Once the physical layout of your monitor system is
finalized, you can begin making the following settings.
1
Turn the level/volume controls on all
source equipment (audio interface, etc.) all
the way down.
2
Set the HS8/HS7/HS5 LEVEL control to the
12-o'clock position, and set both ROOM
CONTROL and HIGH TRIM switches to 0
dB.
3
Turn the power to connected audio source
devices on first, and then turn on power to
the speakers.
NOTE When turning power off, turn off the speakers first, and
then turn off connected audio source devices.
4
Play some source material and gradually
raise the level/volume controls on the
source equipment.
NOTE Be careful not to suddenly apply an excessively loud
signal to the system. Excessive level can damage the
speakers.
5
Set the listening level to a level at which
you can listen comfortably without fatigue
for an extended period of time.
NOTE If necessary, adjust the ROOM CONTROL and HIGH TRIM
switches for the most natural response (refer to page 7).
Adding a Subwoofer (HS8S)
Adding a subwoofer to your monitor system can
significantly improve its low-frequency fidelity, making it
possible to create better overall mixes.
The subwoofer is normally placed on the floor between
the left and right full-range speakers, but since the
subwoofer reproduces low frequencies below 200 Hz
that are relatively non-directional, subwoofer positioning
is not critical.
Four cables are required: two to connect the audio
interface or other source equipment to the HS8S
subwoofer, and two more to connect the subwoofer to
the left and right HS8/HS7/HS5 main speakers.
The connections are made as shown below.
HS8/HS7/HS5
HS8/HS7/HS5
HS8S
Audio interface or
other source
NOTE Plug the supplied AC power cord into the corresponding
socket on the speaker. Plug the power cord into the speaker
first, and then insert the AC plug end into an appropriate AC
wall outlet.
HS8/HS7/HS5/HS8S Owner's Manual
HS8S
HS8/HS7/HS5
11

