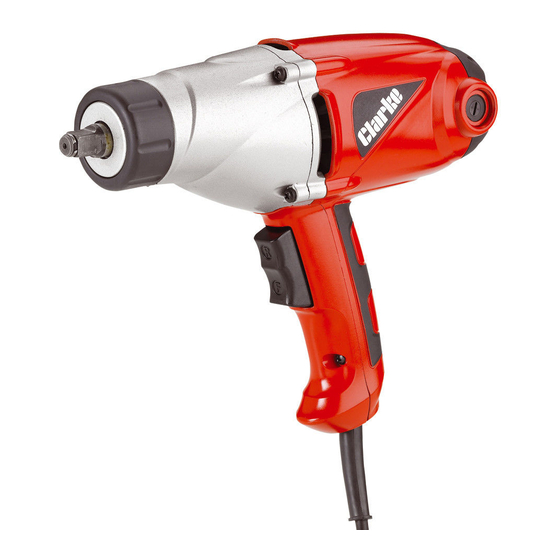
Clarke CEW1000 Handleiding voor gebruik en onderhoud - Pagina 9
Blader online of download pdf Handleiding voor gebruik en onderhoud voor {categorie_naam} Clarke CEW1000. Clarke CEW1000 20 pagina's. Electric impact wrench

OPERATING INSTRUCTIONS
ALWAYS ENSURE THAT THE MACHINE IS DISCONNECTED FROM THE
POWER SUPPLY BEFORE CHANGING THE SOCKET.
LOOSENING A NUT
1. Remove any wheel trim, before selecting the appropriate socket and
placing firmly on the square drive of the wrench.
2. Select the appropriate socket and place firmly on the square drive of the
wrench. Holding the wrench firmly in BOTH HANDS, pull the rocker switch
at 'L' marked on the casing. The torque will build up and impact the nut
repeatedly until the nut is loosened.
3. With the FORWARD/NEUTRAL/REVERSE switch in the REVERSE position, and
holding the wrench firmly in BOTH HANDS, pull the trigger fully. The nut will
be impacted repeatedly until it is loosened. IMPORTANT! Release the
trigger immediately the nut begins to loosen.
4. Jack up the vehicle according to the vehicles handbook so that the
wheel is clear of the ground, then proceed to fully undo the wheel nuts..
ENSURE THAT THE CORRECT SOCKET IS BEING USED FOR THE NUTS ON
YOUR PARTICULAR VEHICLE. AN INCORRECT SOCKET SIZE IS LIKELY TO
DAMAGE THE HEADS OF THE BOLTS/NUTS.
TIGHTENING A NUT
1 Start the nut by hand, ensuring it is not cross threaded, then with the
appropriate socket installed on the wrench, place it on the nut.
2. With the FORWARD/NEUTRAL/REVERSE switch in the FORWARD position,
and holding the wrench firmly in BOTH HANDS, pull the trigger gently. You
can vary the spindle speed by modulating finger pressure on the trigger.
3. Run each nut up in turn until it is 'nipped' up only - do not tighten - do not
fully depress the trigger. When all nuts are nipped up, tighten progressively
by pulling the trigger fully and allowing the action to operate for 3 to 4
impacts only to prevent overtightening.
4. ALWAYS finish tightening with a torque wrench or suitable spanner. The
weight of the vehicle will need to be placed on the wheel to prevent it
from rotating while the nuts are tightened. Ensure the final torque applied
to the nuts meets the vehicle manufacturers recommendations.
9
