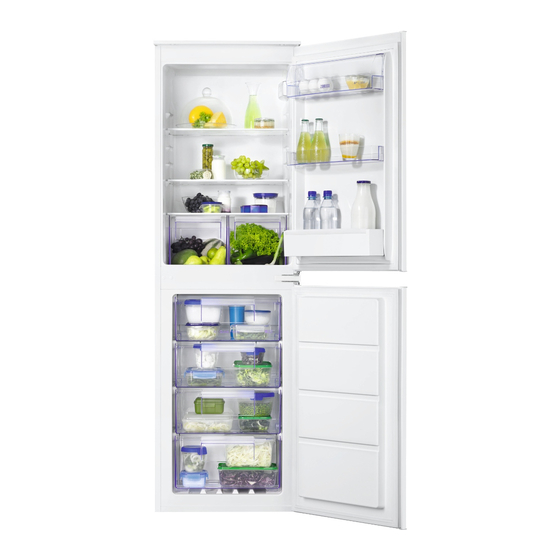
Zanussi ZBB27640SA Gebruikershandleiding - Pagina 9
Blader online of download pdf Gebruikershandleiding voor {categorie_naam} Zanussi ZBB27640SA. Zanussi ZBB27640SA 20 pagina's.
Ook voor Zanussi ZBB27640SA: Gebruikershandleiding (13 pagina's)

What to do if...
Problem
The appliance does not operate.
The appliance is noisy.
The lamp does not work.
The lamp does not work.
The compressor operates contin-
ually.
The compressor does not start
immediately after pressing the
QuickFreeze, or after changing
the temperature.
Water flows inside the refrigera-
tor.
Water flows on the floor.
www.zanussi.com
Possible cause
The appliance is switched off.
The mains plug is not connec-
ted to the mains socket cor-
rectly.
There is no voltage in the
mains socket.
The appliance is not supported
properly.
The lamp is in stand-by.
The lamp is defective.
Temperature is set incorrectly.
Many food products were put
in at the same time.
The room temperature is too
high.
Food products placed in the
appliance were too warm.
The door is not closed correct-
ly.
The QuickFreeze function is
switched on.
This is normal, no error has oc-
curred.
The water outlet is clogged.
Food products prevent that
water flows into the water col-
lector.
The melting water outlet is not
connected to the evaporative
tray above the compressor.
Solution
Switch on the appliance.
Connect the mains plug to the
mains socket correctly.
Connect a different electrical appli-
ance to the mains socket. Contact
a qualified electrician.
Check if the appliance stands sta-
ble.
Close and open the door.
Contact the nearest Authorized
Service Centre.
Refer to "Operation" chapter.
Wait some hours and then check
the temperature again.
Refer to climate class chart on the
rating plate.
Allow food products to cool to
room temperature before storing.
Refer to "Closing the door".
Refer to "QuickFreeze function".
The compressor starts after a peri-
od of time.
Clean the water outlet.
Make sure that food products do
not touch the rear plate.
Attach the melting water outlet to
the evaporative tray.
9
