Directed Xpresskit DBALL2 Installatiehandleiding - Pagina 4

Blader online of download pdf Installatiehandleiding voor {categorie_naam} Directed Xpresskit DBALL2. Directed Xpresskit DBALL2 16 pagina's. Ford5 remote start ready (rsr) installation
Ook voor Directed Xpresskit DBALL2: Installatiehandleiding (12 pagina's), Installatiehandleiding (19 pagina's), Installatiehandleiding (18 pagina's), Handmatig (14 pagina's), Installatiehandleiding (13 pagina's), Installatiehandleiding (14 pagina's), Installatiehandleiding (19 pagina's), Installatiehandleiding (20 pagina's), Installatiehandleiding (15 pagina's), Handleiding voor installatie en snelle referentie (16 pagina's), Installatiehandleiding (18 pagina's), Installatiehandleiding (16 pagina's), Installatiehandleiding (18 pagina's), Installatiehandleiding (16 pagina's), Handmatig (19 pagina's)
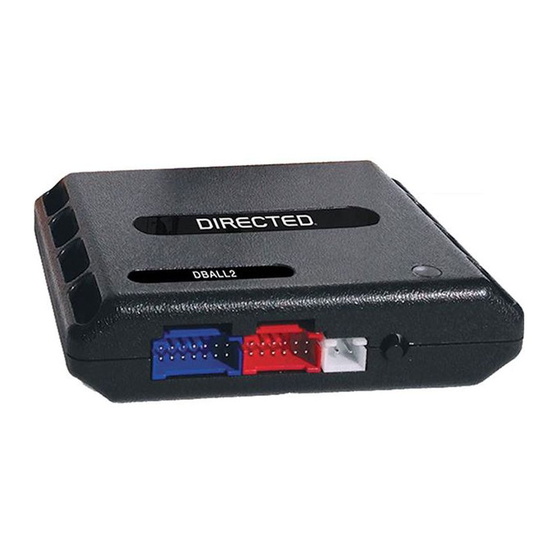
Directed Xpresskit DBALL2 Installatiehandleiding
Platform: DBALL2
Firmware:
CHRYSLER11 ange Extender
Wiring Diagram
Important!
The
Hood Pin and Remote Start Safety Override Switch are mandatory safety
OB II
D
Diagnostic Connector
C-
CAN
High:
B-
CAN
High:
Lt. Green, pin 6
Blue,
pin
3
1
8
9
16
(+) 12V:
B-
CAN Low
:
Red/Green, pin 16
White, pin 11
C-
CAN Low
:
Brown, pin 14
Unless specified otherwise, all connectors are displayed from the wire side, with the exception of the
R
Ready
HS CAN High:
Tan/Black:
HS CAN Low:
FT CAN
High Orange/Green:
:
FT CAN
Low Orange/Brown:
:
(+) 12V
Input: Red:
(-) Ground
(-) Ground
(RXT)
Installation
devices, but
3
Tan:
4
5
6
13
: Black:
14
RF
Prog Button
.
DBALL
LED
OBDII
Rev.: 20170724
are NOT
supplied with the
DBALL
Hood Pin
Remote Start Safety
Override Switch
6: White/Black: (-) Hood
2
You can connect to either a
XL
202
RFTD
OR
a SmartStart module.
Refer to the SmartStart/
XL
202
Installation Notes for more information.
diagnostic connector.
© 2017 Directed. All rights reserved.
Page 4
.