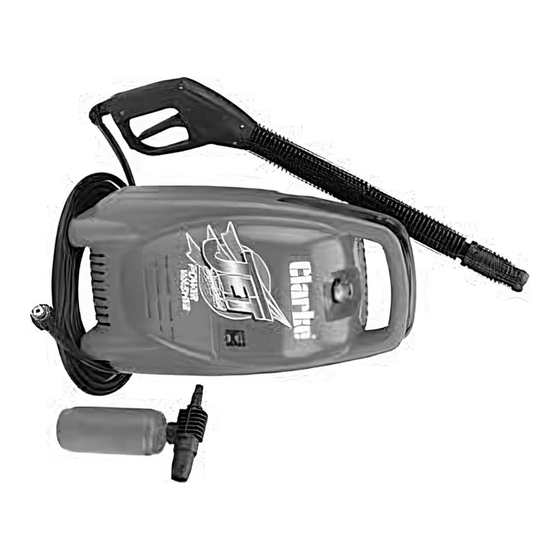
Clarke JETSTAR 1600 Bedienings- en onderhoudshandleiding - Pagina 7
Blader online of download pdf Bedienings- en onderhoudshandleiding voor {categorie_naam} Clarke JETSTAR 1600. Clarke JETSTAR 1600 9 pagina's. Powerwasher

A JETSTAR 1550 and 1600
Thread the hex. wrench (supplied), through the
hole in the cover, at the centre of the rear of
the unit, (see Fig.1), and into the hex. socket
mounted on the rear of the motor, which is
visible through the hole.
B. JET 3000
It will be necessary to remove the top
cover by removing the 7 screws from
beneath the machine as indicated in Fig.
2. This will give easy access to the hex.
socket on the rear of the motor, which is
located on the front of the machine.
Once the hex wrench is engaged, turn the
motor to free the seals. When the motor
turns freely, withdraw the hex. wrench,
(reassemble the cover in the case of the
Jet 3000), reconnect the electrical and
water supply's, and go through the
correct procedure for starting.
Water input filter
Located behind the water inlet, this filter should be removed for cleaning
after every 10 hours of use (or less if water is contaminated).
Remove the filter by unscrewing the input hose connection and
withdrawing the filter element.
Clean the element with fresh water. To replace, reverse the above
procedure, ensuring that all seals are in place.
1
3
2
4
5
7
6
10
Fig. 1
OPERATION
Make certain the ON/OFF switch is set in the OFF position.
On the Jetstar 1550 and 1600 models, the switch is a rotary type mounted on the
left side front of the unit. On the Jet 3000 it is a rocker type mounted on top.
NOTE: Do not operate the Jet 3000 in an upright position - it must rest on its' wheels.
Connect the plug to the mains supply, preferably via a Residual Current Device.
Turn the water tap fully on.
When starting, it is IMPORTANT that you adopt the following procedure:
Fig. 2
In order to ease the starting process, and to prevent the possibility of blown fuses,
pull the trigger on the lance - it may be necessary to release the safety latch in
order to do so, and hold the trigger in that position whilst switching the motor ON
and allowing the pump to develop full pressure.
You may release the trigger once full pressure is developed. When you do so, a
safety switch will cut IN turning the motor OFF. This prevents the possibility of damage
to the motor, which could occur should it be left to run with pressure in the system
(ie. without pulling the trigger), for a period of time.
As soon as you pull the trigger again, the motor will cut in and water at pressure
will be ejected.
Ensure the operator is aware that when the trigger is pulled, water at high
pressure can cause the lance to kick fiercly - it should therefore be held
firmly. In addition, care must be taken to ensure that the nozzle is NOT aimed
at an area where the water jet will cause damage. i.e. away from people,
animals, windows - greenhouses etc., and be aware that splash back could
also cause damage if the jet is trained on a nearby wall etc.
As explained above, whenever you release the trigger, the motor will automatically
stop, conserving energy and reducing pump and motor wear. It will cut in again
when the trigger is pulled. This process will continue for as long as the machine is
switched ON.
In the event that you switch the machine OFF, but intend to continue with its use
after a few minutes or so, DO NOT depress the trigger, but set the safety latch to
prevent it from being accidentally pulled. This will ease and assist the subsequent
restarting of the motor as pressures will remain equalised on either side of the
pump, thereby reducing the load on the motor when restarting.
NEVER attempt to run the machine with the water supply disconnected, or turned
off
WARNING!
7
