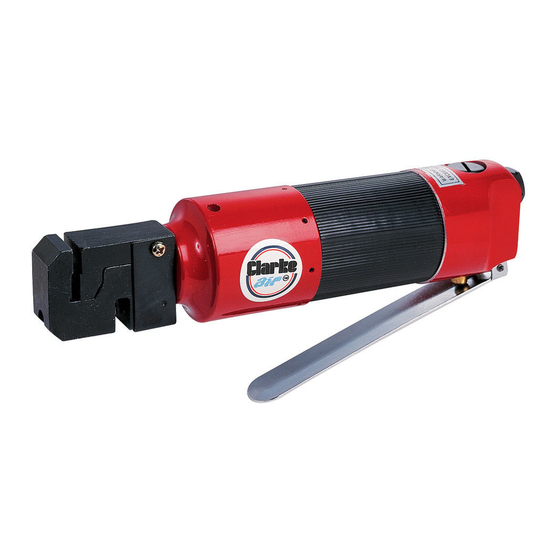
Clarke Air CAT62 Gebruiks- en onderhoudsinstructies - Pagina 9
Blader online of download pdf Gebruiks- en onderhoudsinstructies voor {categorie_naam} Clarke Air CAT62. Clarke Air CAT62 17 pagina's. Punch & flange tool

MAINTENANCE
WARNING: MAKE SURE THAT THE AIR TOOL IS DISCONNECTED FROM THE
AIR SUPPLY BEFORE STARTING ANY CLEANING, OR MAINTENANCE
PROCEDURES.
DAILY
1. Before use, drain water from the air-line and compressor.
2. This air tool should be lubricated before use. Turn the tool upside down and
pour 1-2 drops of Clarke air-line oil into the air inlet. This should be carried
out regardless of whether or not an in-line mini oiler is used. If an in-line mini
oiler is not used, this procedure should be repeated after every two hours
of constant use.
3. Keep the tool clean.
SERVICING
For a full service contact your local Clarke Service Department.
To remove and replace the punch (6) and/or die (3) proceed as follows:.
Numbers refer to the parts list and diagram on pages 12/13.
1. Remove screws (7) and slide off cover plate (8).
2. Slacken set screw (2) and strike rear edge of clamp (1) with a soft-headed
hammer in order to unscrew it from the shaft of the hydraulic piston (31). If
necessary the shaft may be locked by removing the oil plug (13) and
inserting a suitable rod into a hole in the shaft.
3. Fully unscrew the clamp (1) and anvil (9) assembly from the shaft.
4. Separate the anvil (9) and the clamp (1) to replace the punch (6) and/or
die. The die (3) is a push fit in the clamp (1) and can be tapped out via the
waste bore (A). Push/tap in the replacement.
5. Reassemble the anvil (9), clamp (1) and the replacement punch (6) and
screw onto the shaft. Tap with a soft-headed hammer to ensure tightness
and lock with the set screw (2).
6. Refit the cover plate (8) and retain with screws (7).
Deposits in the tool may also reduce efficiency. This can be corrected by
cleaning the air inlet and flushing out the tool with gum solvent oil, or failing
this, the tool should be disassembled, thoroughly cleaned, dried and
reassembled.
Parts & Service: 020 8988 7400 / E-mail: [email protected] or [email protected]
9
