Lenovo ThinkPad Hard Disk Drive Gebruikershandleiding - Pagina 7

Blader online of download pdf Gebruikershandleiding voor {categorie_naam} Lenovo ThinkPad Hard Disk Drive. Lenovo ThinkPad Hard Disk Drive 44 pagina's. Usb 3.0 secure hard drive
Ook voor Lenovo ThinkPad Hard Disk Drive: Gebruikershandleiding (2 pagina's), Gebruikershandleiding (48 pagina's), Gebruikershandleiding (17 pagina's), Gebruikershandleiding (42 pagina's), Gebruikershandleiding (42 pagina's), Garantiehandleiding (38 pagina's), Uitrolhandleiding (26 pagina's), Veiligheids- en garantiehandleiding (20 pagina's), Beknopte handleiding (2 pagina's), Gebruikershandleiding (15 pagina's), Gebruikershandleiding (32 pagina's), Installatiehandleiding (14 pagina's)
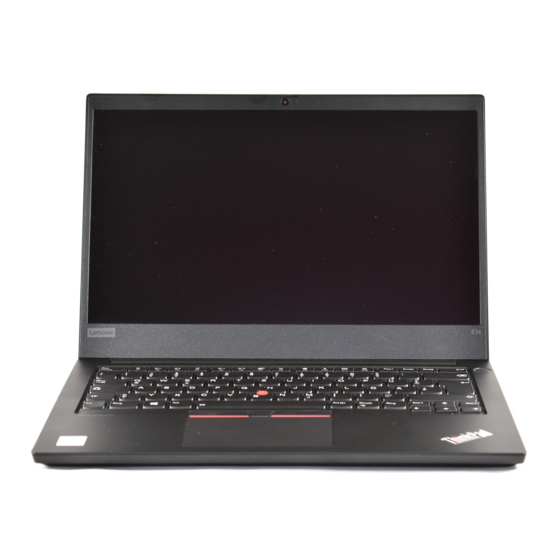
Lenovo ThinkPad Hard Disk Drive Gebruikershandleiding
4
The ThinkVantage button
The ThinkVantage button provides you with quick access to some of the programs installed on your
computer.
Note: Before using the ThinkVantage button, ensure that you have installed the keyboard driver.
®
• Microsoft
Windows
Pressing the ThinkVantage button opens the ThinkVantage Productivity Center program or the Lenovo
SM
Care
program, which contains comprehensive help and information for your computer.
If the computer does not come with either of the programs, pressing the ThinkVantage button opens the
Windows System Information window.
• Microsoft Windows 7:
Pressing the ThinkVantage button opens one of the following programs. If the computer does not come
with any of the following programs, pressing the ThinkVantage button opens the Windows System
Information window.
®
– Lenovo
SimpleTap: This program provides you with a quick way to customize some basic computer
settings.
– Lenovo Solution Center: This program enables you to troubleshoot and resolve computer problems.
– Lenovo ThinkVantage Toolbox: This program enables you to evaluate system performance and
diagnose and resolve computer problems.
• Microsoft Windows 8 or Windows 8.1:
Pressing the ThinkVantage button opens the Lenovo Device Experience program.
5
Scroll Lock key
When the Scroll Lock key is enabled, you can scroll the contents of a text window by pressing the arrow
keys instead of moving the cursor.
Note: Not all application programs support this function.
5
Numeric Lock key
When the Numeric Lock key is enabled, some alphabetic keys (M, J, K, L, U, I, and O) and numeric keys
(7, 8, and 9) on the keyboard work as a 10-key numeric keypad. For more information, see "Using the
Numeric Lock key" on page 9.
6
Back and Forward keys
Used to move backward and forward among the Web pages according to the sequence that you opened
them.
7 8
TrackPoint
The TrackPoint consists of a pointing stick and three click buttons. For more information, see "Using the
TrackPoint" on page 9.
9
Space bar
Press this key to type the space between words. In many programs for playback of linear media, press the
space bar to pause and resume playback, or manually advance through text.
10
Fn key
The Fn key is used together with a function key to perform certain tasks. For more information, see "Using
the Fn function key" on page 14.
®
XP and Microsoft Windows Vista
®
:
Chapter 1
3
.
About the keyboard