CLAS AC 7495 Handmatig - Pagina 12
Blader online of download pdf Handmatig voor {categorie_naam} CLAS AC 7495. CLAS AC 7495 17 pagina's. Universal electronic leak detector r134/1234yf/hydrogen

AC 7495
UNIVERSAL ELECTRONIC LEAK DETECTOR R134/1234YF/HYDROGEN
2. Auto reset & Reset function key
When the Auto Reset function is turned ON, the meter will monitor background status and fine tune itself.
When Reset LED light is on, it indicates it is in ON mode. Press Reset button and hold for 2 seconds the
Reset light will turn off and Auto Reset function is in OFF mode.
When the Reset light is off, it indicates the Reset function is in manual mode. Press the Reset button once
to enable manual Reset function.
3. Verity the condition of the unit and sensor:
• Set the sensitivity level to "Hi".
• Open the leak check bottle cover and slowly move it closer to snake tube nozzle.
• If the indication moves up to high from low then we should move the check bottle away and the LED
should go off again. This shows that the unit is under working condition.
• If the unit does not perform as we expect, bring the unit for maintenance at your local sales office.
4. Enter the measuring mode
• Place the tip of the leak-detector probe as close as possible to the site of the suspected leak. Try to
position the probe within 1/4 inch (6 mm) of the possible leak source.
• Slowly move the probe past each possible leakage point.
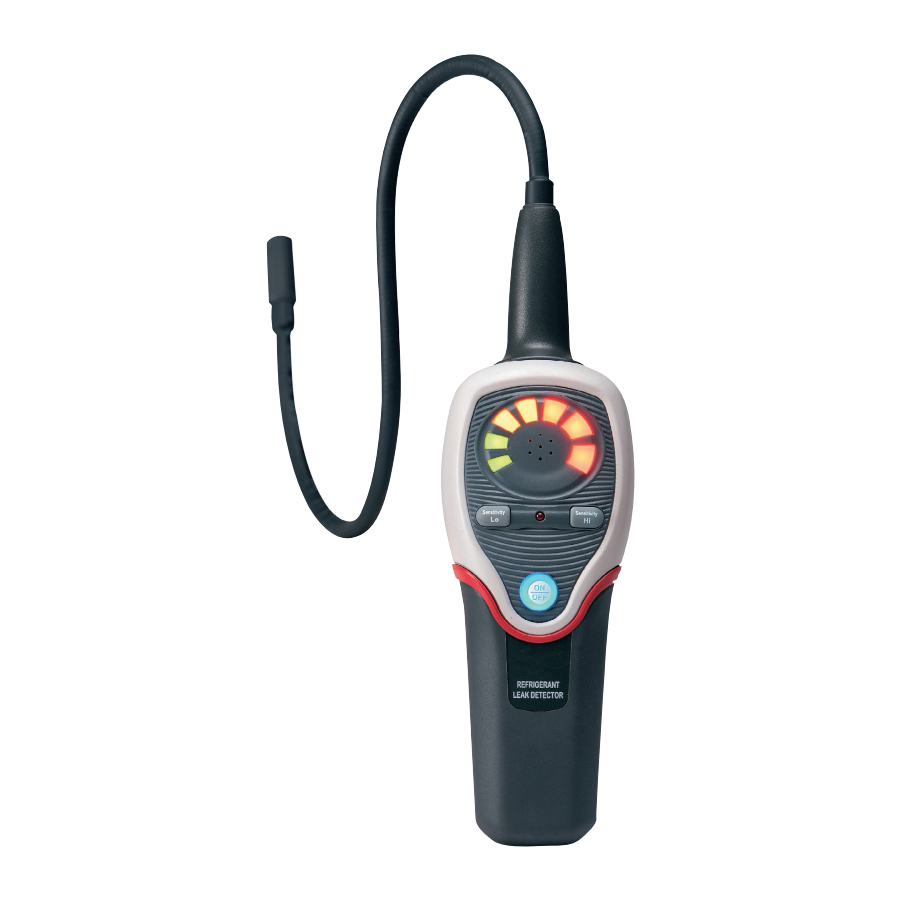
• When the instrument detects a leak source, the audible tone will alarm. Additionally, the visual indicators
will light from left to right, Green LED then Orange LED then Red LED (highest concentration) as increasing
of level indicate that the location is close to the source.
• When the Instrument signais a leakage, pull the probe away from the leak for a moment, then bring it
back to pinpoint the location. If the refrigerant leak is large, setting the sensitivity switch to LOW will make
it easier to find the exact site of the leak.
• Return the sensitivity switch to HIGH before searching for additional leaks.
• When you've finished leak-testing, turn OFF the instrument and store it in a clean place, protect the leak
detector from possible damage.
REPLACING NEW SENSOR
The sensor has a limited operative period. Under normal operation, the sensor should work more than one
year. Expose the sensor under high density of coolant (>30000ppm) will shorten its life cycle rapidly. lt
is important to ensure that sensor surface is free from water
droplets, vapor, oil, grease, dust and any or all other forms of
contaminant. Furthermore, to ensure good working condition
of the unit, sensors must be replacement periodically when its
operative life is over.
WARNING !!! : When replacing sensor, the worn-out sensor
may be HOT !!.
• Remove cone cap cover from the tip of snake tube.
• Pull out old sensor and insert the new sensor into the plug.
• Seal the cap cover over the plug.
CLEANING
The Instrument plastic housing can be cleaned with standard household detergent or isopropyl alcohol.
Care should be taken to prevent the cleaner from entering the instrument. Gasoline and other solvents may
damage the plastic and should be avoided.
WARNING : The detergent or isopropyl a/cohol might damage the sensor, please keep then from the sensor
through the process.
Protection capteur
Capteur
