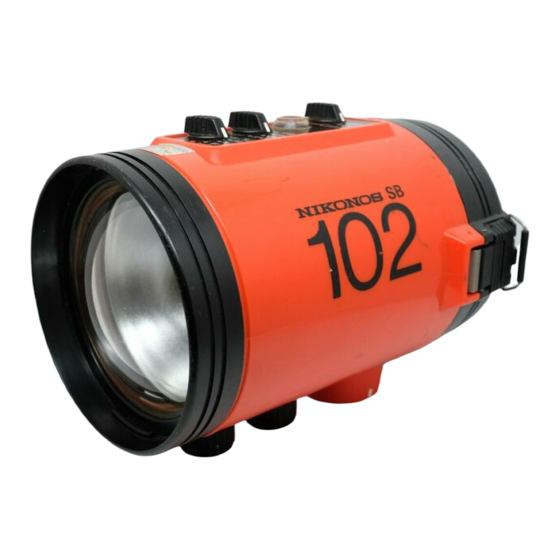
Nikon SB-102 os Gebruiksaanwijzing - Pagina 19
Blader online of download pdf Gebruiksaanwijzing voor {categorie_naam} Nikon SB-102 os. Nikon SB-102 os 36 pagina's. Speedlight

Synchro Socket
®
To connect the sync cord
@)
to the
speedlight,
remove
the synchro socket cover
®
by turning it
counterclock-
wise and pulling it
up.
Remove the dust-proof plastic
cap from the sync cord 's speedlight plug
@
(black).
Insert the speedlight plug into the synchro socket after
aligning the synchro socket
index CD
with the red
index
on the speedlight plug
.
When the speedlight plug
is
inserted,
turn its locking ring clockwise as far as it will
go to secure the plug
.
Never submerge the speedlight in water with the
synchro socket cover removed or get the sync cord
plugs wet.
Always
make sure either the synchro socket
cover or the sync cord plugs are securely attached
before entering the water.
After shooting
underwater,
wipe off any water droplets
with a soft cloth
before
removing the plug to prevent
water from entering the socket. Whenever the sync
Sensor Socket
(])
To connect the sensor cord to the speedlight for non-
TTL automatic flash control
,
remove the sensor socket
cover
@
by turning it counterclockwise and pulling it
up.
Remove the dust-proof plastic cap from the sensor
cord 's speedlight plug
(black).
Insert the speedlight
plug into the sensor socket after aligning the sensor
socket
index
@
with the red
index
on the speedlight
plug. When the speedlight plug is
inserted,
turn its
lock-
ing ring clockwise as far as it will go to secure the plug.
Never submerge the speedlight in water with the
sensor socket cover removed or get the sensor cord
plugs wet.
Always make sure either the sensor socket
cover or the sensor cord plugs are securely attached
before entering the water.
After shooting
underwater,
wipe off any water droplets
with a soft cloth
before
removing the plug to prevent
water from entering the socket. Whenever the sensor
cord is not being used or the speedlight is bei ng washed
with the sync cord removed from the synchro
socket,
attach the synchro socket cover to protect the socket.
To attach the socket cover press it against the socket to
seat the O-ring
,
then turn the locking ring clockwise as
far as it will
go.
•
To simplify
identification,
both the tip of the sync cord's speedlight plug
and the inside of the synchro socket are color· coded
yellow.
cord is not being used or the speedlight is being washed
with the sensor cord removed from the sensor socket
,
attach the sensor socket cover to protect the socket.
To attach the socket cover, press it against the socket to
seat the O-ring, then turn the locking ring clockwise as
far as it will
go.
•
To simplifty
identification,
both the tip of the sensor cord 's speedlight
plug and the inside of the
sensor
socket are color-coded black.
19
