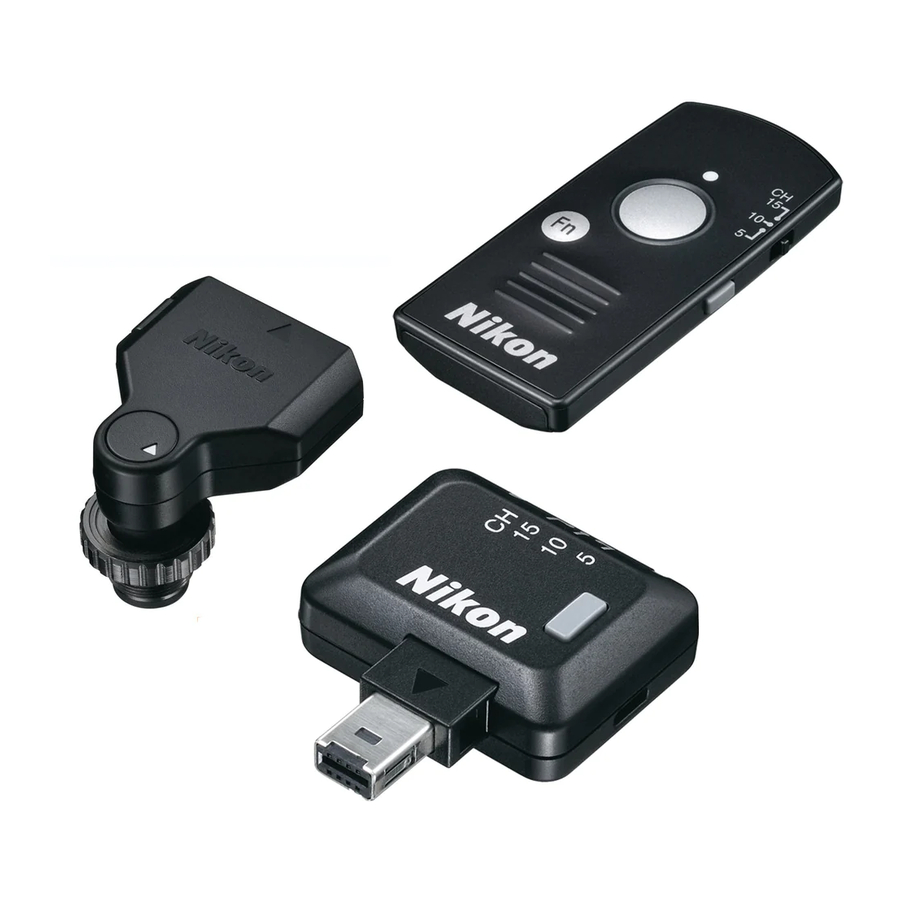
Nikon WR-R10 Gebruikershandleiding - Pagina 6
Blader online of download pdf Gebruikershandleiding voor {categorie_naam} Nikon WR-R10. Nikon WR-R10 6 pagina's. Wireless remote controller/wr adapter
Ook voor Nikon WR-R10: Gebruikershandleiding (2 pagina's), Gebruikershandleiding (2 pagina's), Snelstarthandleiding (6 pagina's), Handmatig (6 pagina's)

Controlling
MultiP-!!Cie!E.-"C~a!!!m!!!e!<.!rl!!a!i!!s'---------
:
The following options are available with multiple
WR-RlO units, each mounted on a separate camera.
Using a WR-170 (Simultaneous Release)
~~~ ~~:'~,~,~~ :~:
6' ,
I. · .
'
.
~
: tlO:: ,
.
, ,
"m"h'""'''"WR-TlO,
@
· ; : , \
J~i. , j :
:~ec~~u~:e~:~~~s~~ c~~~~~
,
-
iJH
,";
'
H:
~ rr
•
(fl
.
taneously by pressing the
WR-Tl 0
shutter-release
button all the way down.
Synchronizing Multiple Cameras (Synchronized Release)
~:~~~~i;~:~~
~n;,
:
1
cameras.
1
Attach the WR-Rl 0
units.
Attach WR-Rl 0 units to the master camera (any
camera with a ten-pin remote terminal) and all re-
mote cameras as described in
"Using
the WR-Rl 0
(Transceiver)':
2
Set all the units to the same channel.
3
Pair the cameras.
Turn the cameras on and press the pairing buttons
on theWR-R
l
O on the master camera and one of the
remote cameras. Keep the buttons pressed until the
red and green LEOs flash on and off in sequence,
indicating that pairing is
complete.
Repeat until the
master camera is paired with all the remote
cameras.
4
Take pictures.
The shutters on all cameras will be released when
the shutter-release button on the master camera is
pressed all the way down.
Multiple Channels
The remote cameras can be divided into up to three
groups by selecting different channels for the cam-
eras in each group after pairing and then changing
the channel for the WR-Tl 0 or master WR-Rl 0 to con-
trol only the remote cameras on the selected channel.
Precautions for Use
• To prevent malfunction, be sure the WR-Rl 0 units
are correctly attached.
• The shutter-release buttons on the camera and
WR-Tl 0 can not be used when the camera is in re-
mote control (ML-L3) release mode.
• Disconnect WR-Rl 0 units when they are not in use.
Carrying a camera in a bag or by the strap with a
WR-R 10 attached risks damage to the camera or the
WR-RlO in the event that the camera is exposed to
strong
physical shocks or
vibration.
r-··-····
···-·-···-
--·---·- .. ········-····-·-···-·---····-
-·-··-·-
'
II
Compatibility
'
Wireless remote
con trollers can
not be used w
ith
Dl-
i
series cameras or the MB-Dl 00.
They
can be
used
with
the
Fl
00, D2X, D2Xs, D2Hs, and D200, bu
t
the shu tter
can not be released w ith
the
Fl 00 in self-timer mode,
while the D2X, D2Xs, D2Hs, and D200
w
ill temporari ly
display
[!I
if the
exposure meters are activated after
the
unit is attached.
*Approximate
range
at
heigh
t
of about
1.2
m
(4ft);
varies with
'
weather conditions and
presence
or
absence of
obstacles
Un
less otherwise stated, all figu res assume a fresh battery
and
an ambient temperature of 23 ±3
o
c
(73.4 ±5.4
oF)
as
specified
by
the
Ca
mera and
Imaging
Prod ucts Association
(CIPA)
Range
and
battery life
may
drop at
low
temperatures.
Refer
to the camera manual
for
additional information on op-
erating environment and use the products in the narrower of
the
two
operating temperature ranges.
