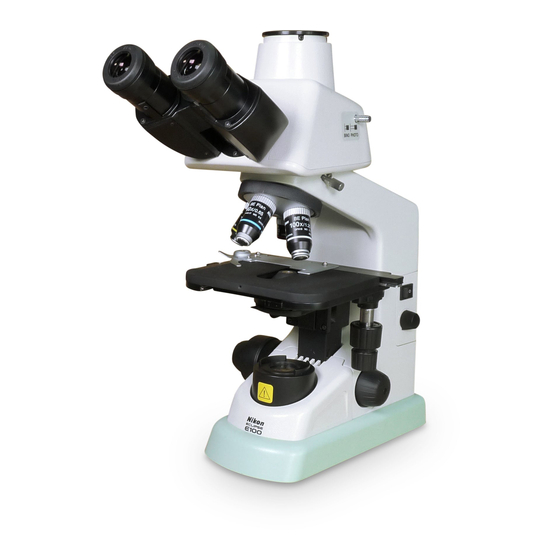
Nikon eclipse e100 Gebruiksaanwijzing - Pagina 31
Blader online of download pdf Gebruiksaanwijzing voor {categorie_naam} Nikon eclipse e100. Nikon eclipse e100 44 pagina's.

2) Objectives
Objectives are attached to the microscope before shipment.
When replacing an objective, remove the specimen from the stage and lower the stage.
Remove the objective holding it with both hands. Be careful not to drop the objective.
Screw a new objective into the revolving nosepiece. Set the objectives in such an order
that the objective magnification increases as the revolving nosepiece is turned clockwise
(as viewed from the top of the microscope).
3) Specimen Holder
The specimen holder is attached to the stage before shipment.
When removing the holder, loosen the two hexagonal socket head bolts furthermost from the
specimen using the hexagonal wrench provided.
4) Eyepiece and Eyepiece Pointer
The 10x eyepieces are attached to the eyepiece tube before shipment. When removing an
eyepiece, loosen the eyepiece set screws using the hexagonal wrench provided and then
remove the eyepiece. When attaching an eyepiece, push the eyepiece down to its full limit
and tighten up the set screw. Be careful not to tighten too hard.
When changing to a 15x eyepiece (optional), be sure to change both the right and left
eyepieces together. The right and left eyepieces
should be of the same magnification.
The eyepiece pointer (optional) serves as a
reference for pointing out the specimen. Attach
the pointer to one of the eyepieces. Rotate and
remove the viewfield ring from the eyepiece end.
Attach the eyepiece pointer to the eyepiece and
then put back the viewfield ring.
5) Other Accessories
For installation of other accessories such as the photomicrographic equipment, see the
manual provided for each product.
Viewfield ring
Eyepiece pointer
Eyepiece
29
