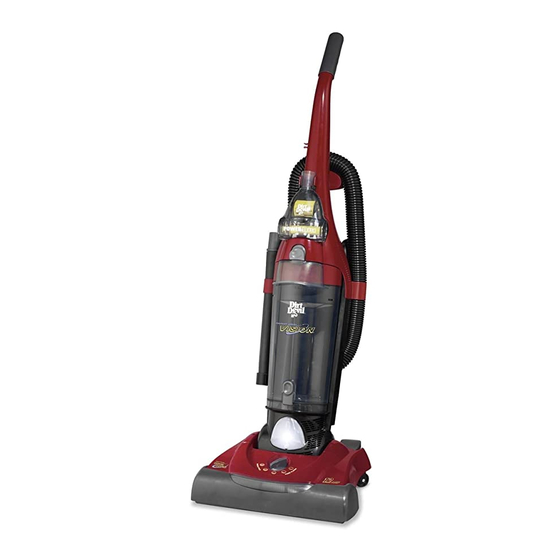
Dirt Devil Swivel Glide Gebruikershandleiding - Pagina 7
Blader online of download pdf Gebruikershandleiding voor {categorie_naam} Dirt Devil Swivel Glide. Dirt Devil Swivel Glide 9 pagina's. Operating and servicing instructions
Ook voor Dirt Devil Swivel Glide: Gebruikershandleiding (9 pagina's)

1.
PAPER BAG REMOVAL & REPLACEMENT
NOTE:
Unplug cleaner before changing paper bag. Cleaner must have paper bag in place at all times.
You can tell your bag needs replacing when you experience less suction when the *full bag indicator changes to yellow or if the
light illuminates (see pg. 3). Do not exceed marked fill line on
* FULL BAG INDICATOR
paper bag, and if full, replace as described below. If not, the cleaner may have a clogged dirt passage (see "T
TO REMOVE OLD BAG
1. Pull release lever on front panel to remove front panel (Diagram 1). 2.
and pull past raised locking tabs on the dirt tube (Diagram 2). Dispose of old paper bag.
TO INSTALL NEW BAG
IMPORTANT: Expand bag away from hole before installing (Diagram 3). Press in opening to clear paper away from hole. 1. Grip cardboard
collar and push past raised locking tabs on dirt tube with both hands (Diagram 4). 2. Fold bag inward about 3" from bottom to r
of bag support posts (Diagram 5). Reattach front panel.
1.
Bag Chamber
Filter
(Internal Filter)
FILTER PADS REMOVAL & REPLACEMENT
This upright contains two filters: internal filter (Bag Chamber) and external filter (Front Panel). (Filter placement varies a
model) Diagram 2: filter placement is inside front panel. Diagram 4: filter placement is outside front panel. For filter repla
800-321-1134. External and bag chamber filter part # 3-863001-001. Front panel and bag chamber filter part # 3-865132-044.
BAG CHAMBER FILTER
located under paper bag. Filter should be
replaced after every third paper bag.
*Not available on all models
RAISED
2.
LOCKING
TABS
When the full bag indicator window changes to yellow, it
2.
1. Remove front panel.
L
2.
ift up on front edge and pull towards you
to remove (Diagram 1). Dispose of filter.
S
3.
lide new filter pad into position.
4. Reattach front panel.
3.
4.
HOLE
paper bag. Different types of dirt may require bag replaceme
REMOVE: Grasp cardboard collar of paper bag with both hands
3.
External
Filter
Unplug cleaner before changing filter.
(internal)
7
RAISED
5.
LOCKING
TABS
BAG TYPE:
may be time for a new paper bag. Check the
rouble Shooting" pg. 9).
4.
EXTERNAL FILTER
*
located on back of front panel. Filter
should be replaced after every third
paper bag.
1. Position filter to fit (Diagram 2).
2. Push over 6 posts.
*FRONT PANEL FILTER
located on front panel. Filter should be
replaced once a year.
1. Remove filter cover by depressing
center tab (Diagram 3).
2. Remove and replace filter (Diagram 4).
U
clog indicator
nt more often.
est on top
ccording to
cement call 1-
(external)
(external)
