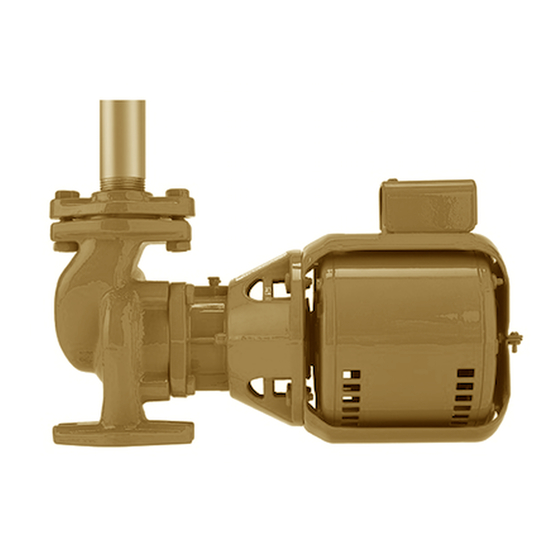
Armstrong 2b Installatie- en bedieningsinstructies - Pagina 2
Blader online of download pdf Installatie- en bedieningsinstructies voor {categorie_naam} Armstrong 2b. Armstrong 2b 2 pagina's. Pump less volute kits for select 2, 3, 4, and 5, and 1050 series in-line circul ator models

insta ll ation &
op erat ing instructions
2
Check motor electrics against available supply, then start pump
making sure rotation is correct. When viewed from motor end,
rotation is counter-clockwise on Models s-25 to s-46 and
h-32 to h-41. On all other models, rotation is clockwise. If
pressure does not develop, stop pump, re-check, vent and fill.
Never attempt to fill system when pump is running.
4 .0 lubrication
caution
Do not put oil in the maintenance free PLVs. These
models contain mf in their item numbers and are
labelled: 'This bearing assembly contains perma-
nently lubricated bearings and does not need any
oiling or greasing'.
pump lubrication
Immediately after pump is installed and before running, slowly
add the oil (sae 30 non-detergent regular, supplied with
pump) to pump oil cup, located on top of bearing bracket:
s-25 to s- 57, h-32 to h- 5 4 and series 1050 ( 1b to 2b) ¼oz.
At the start of each following heating season, lubricate with
sae 30 oil. For models s-25 to s- 57, h-32 to h- 5 4 and series
1050 ( 1b to 2b), add approximately ¼ oz. (Lubricate every six
months for high temperature or constant operation.)
motor lubrication
Gold series – Pump Less Volute motors are permanently
lubricated and require no maintenance.
t o r o n t o
+1 416 755 2291
b u f f a l o
+1 716 693 8813
b i r m i n g h a m
+44 (0) 8444 145 145
m a n c h e s t e r
+44 (0) 8444 145 145
b a n g a l o r e
+91 (0) 80 4906 3555
a r m s t r o n g f lu i d t e c h n o lo g y
s h a n g h a i
established 1934
+86 21 3756 6696
Gold series - Pump
Less Volute kits
a r m s t r o n g f lu i d t e c h n o lo g y. c o m
5 .0 seal replacement
Remove pump bracket from body. Remove the impeller, dam-
aged seal assembly, ceramic insert and rubber cup. Clean the
recess in bearing bracket coverplate and install a new retainer
cup and ceramic. Check the condition of the shaft sleeve. If
scored, replace the shaft assembly. Otherwise, clean shaft ex-
tension and polish sleeve with fine crocus cloth, using a rotating
motion, if required.
Press against coupler end of shaft to take up play while press-
ing new seal firmly against the stationary face. A slight amount
of clean vaseline may be put on shaft sleeve to assist installa-
tion. Press down firmly and evenly, using 2 screwdrivers and
pushing against the 4 ears of driving band (the metal ring
around rubber bellows), or around top outer edge of driving
band on models s-25 to s- 57, h-32 to h- 5 4 and series 1050
( 1b to 2b).
Do not use spring washer on models s-25 , s-35 and h-32
current style circulators, where recess to locate spring is pro-
vided on impeller hub.
Continue pressing against coupler end of shaft, re-mount
impeller and re-assemble the seal bearing assembly into body.
If necessary, install a new body gasket and clean gasket surface
of both volute and bracket.
caution
Before operating pump, carefully check:
1 Is the pump primed?
2 Is rotation correct?
3 Is pump properly lubricated?
4 Does the power supply agree with data on
motor nameplate?
5 Is overload protection provided?
6 Is the system clean?
