PRODUCT SAFETY & DISCLAIMER
READ ALL INSTRUCTIONS CAREFULLY BEFORE INSTALLING, FAILURE TO DO SO MAY CAUSE
PERSONAL INJURY OR DAMAGE TO PRODUCT AND/OR PROPERTY
▪
This installation guide is provided as a GENERAL installation guide, some vehicles vary and
may require additional steps. We do not accept responsibility for third party labor charges
or modifications. Exercise due-diligence when installing this product.
▪
We do not accept any responsibility for vehicle damage or personal injury resulting from
the installation of this product.
▪
Careless installation and operation can result in equipment damage
Requirement
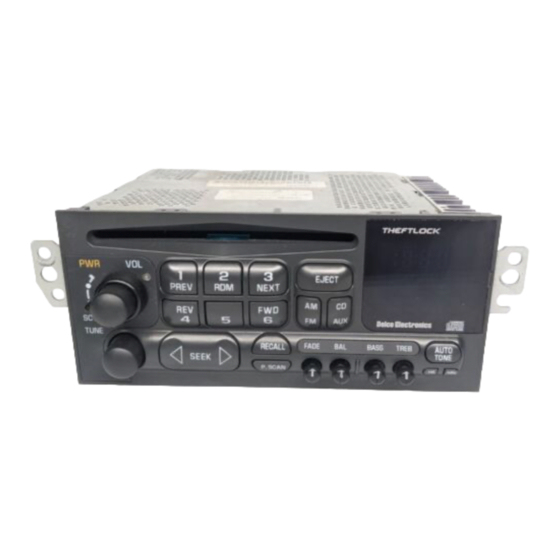
1997-04 Corvette WITH ORIGINAL RADIO
Introduction
The new BLU-C5 module (V 2.24), adds music streaming capabilities to all C5
with original Theftlock AM/FM/CD or AM/FM/Cassette radio (Bose or non-Bose).
Installation options include behind the radio cavity OR (when available) to the 10-
pin CD plug in trunk/hatch. Irrespective of install location, the factory 12-disc
changer (if present) must be disconnected – See our
changer operation. Once installed, pair smartphone, tablet etc. and begin
streaming Apple music, navigation, Spotify, XM radio, Pandora, audio books and
other audio application while on the way to work or cruising around town.
Note: The BLU-C5 support Bluetooth A2DP2 (music streaming) but does NOT
support Bluetooth hand-free calls (HPF). See our
For more, go to frequently asked question at the end of this guide.
Installation 1:
Connects to radio using the PXHGM4 harness
Selecting the PXHGM4 harness requires radio removal so to fit
module in radio cavity and allows module to turn on/off with
radio power button. Alternately, if vehicle has a 10-pin plug in
trunk/hatch; you may install module without removing radio by
selecting the PXHGM2 harness—See installation 2 on page 3.
A2D-C5
to retain CD
A2DIY-C5
instead.
Click links below for radio removal videos:
Radio removal -
https://www.youtube.com/watch?v=Gcrlufo1ctc
https://www.youtube.com/watch?v=WTbWYNJTSDs
1.
Locate 20-pin plug and press black release tab to disconnect from radio
(See Fig. 1)
2. Connect 20-pin plug (from step 1), to matting 20-pin socket (white) on
installation harness (See Fig. 2).
3. Connect installation harness 20-pin black/gray plug (See Fig. 2) to radio
20-pin socket vacated in step 1
4. Ensure plugs/connectors are snug
5. Optional aux jack: Connect included 4ft. aux cable to module jack and
route other end to front of the dash or where aux device will reside.
6. Optional USB-C charging kit—Go to page 7
7. Proceed to "Pairing" on page 5
Fig. 1
Fig. 2
PXHGM4 harness

