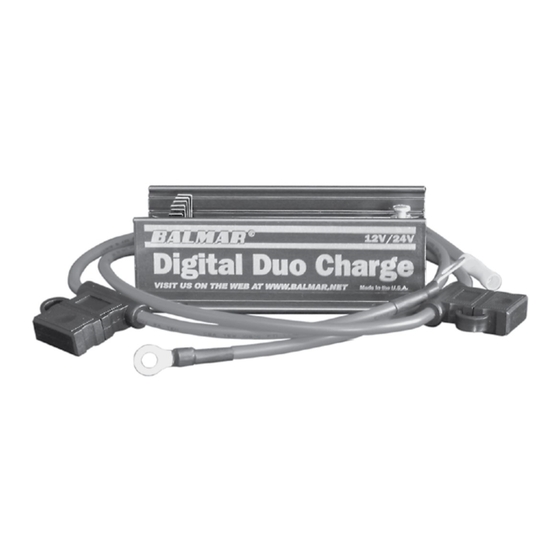
Balmar Digital Duo Charge Installatie- en bedieningshandleiding - Pagina 7
Blader online of download pdf Installatie- en bedieningshandleiding voor {categorie_naam} Balmar Digital Duo Charge. Balmar Digital Duo Charge 8 pagina's.
Ook voor Balmar Digital Duo Charge: Installatie- en bedieningshandleiding (4 pagina's)

Duo Charge Troubleshooting
Symptom
No Lights/No Output
Interference
at
radio,
autopilot or navigation
equipment when Duo
Charge is active
Output voltage is not ap-
propriate for battery type
selected
No Output. #4 LED blinks
once intermittent
No Output. #4 LED blinks
twice intermittent
No Output. #4 LED blinks
three times intermittent
No Output. #4 LED blinks
four times intermittent
No Output. #4 LED blinks
five times intermittent
No Output. #4 LED blinks
six times intermittent
Balmar warrants the Digital Duo Charge for one year against defects in material or worksmanship. The complete Balmar limited product
warranty statement is available at www.balmar.net. Please contact our Customer Service department at 360-435-6100 prior to return for
warranty evaluation. Balmar is not responsible for product returned without prior authorization. See website for detailed warranty info.
Cause/Solution
1.
No voltage at input wire or ON/OFF wire – Check wiring and repair.
2.
Bad fusing on input wire – Replace 30A fuse in input cable.
3.
Voltage too low at house battery bank – Check house battery charging system.
4.
Starting battery demanding >30A – Install solenoid and manual over-ride switch. Check grounding.
5.
Bad Duo Charge unit – Contact Balmar Customer Service at 360-435-6100 or at [email protected].
1.
Input, Output or ON/OFF wires causing interference – Re-route wiring. Check system grounding.
2.
Output wire is coiled – Uncoil any surplus wire and re-arrange to ensure noise is reduced.
3.
Duo Charge is mounted too close to electronics – Relocate Duo Charge.
4.
Frequency interference – Install noise reduction filter on electronics power wire.
1.
Wrong battery program selected – Verify program and re-program as described above.
2.
Voltage drop in output cable – Check wiring resistance and repair as needed.
3.
Voltage drop in input cable – Check wiring resistance and repair as needed.
4.
Voltage drop in output cable – Check wiring resistance and repair as needed.
1.
High system temperature – Determine source of overheating and repair.
1.
Start battery voltage too high – Inspect starting battery for secondary charge sources and correct.
1.
House battery voltage too low – Correct charging source for house battery bank.
2.
House battery voltage too low – Check wiring resistance in Input wire and repair as needed.
1.
House battery voltage too high – Correct charging source for house battery bank.
1.
Start battery temperature too high – Shut down system. CAREFULLY inspect starting battery for signs of
overheating. Repair condition and/or replace starting battery.
2.
Bad Temperature Sensor cable – Check wiring resistance (approx. 34-40k). Repair or replace Temperature
Sensor cable.
3.
Bad system grounding – Test ground-side resistance between batteries and charging system. Repair.
1.
Voltage too low at ON/OFF terminal – Repair or relocate ON/OFF wire.
7
