BALTENSWEILER OyO D 3 Montage- en bedieningsinstructies - Pagina 3
Blader online of download pdf Montage- en bedieningsinstructies voor {categorie_naam} BALTENSWEILER OyO D 3. BALTENSWEILER OyO D 3 5 pagina's.
BALTENSWEILER
OyO D 2 / D 3
IMPORTANT! Read the instructions carefully beforehand and keep for future reference.
IMPORTANT! Read the instructions carefully beforehand and keep for future reference.
!
!
For safety regulations, protection classes and instructions, see page 5.
For safety regulations, protection classes and instructions, see page 5.
Mounting instructions
Disconnect the power supply during installation
1
(remove the fuse).
Premount the expansion plugs at a distance of 620 mm.
2
Check the load-bearing capacity of the fixture and, if necessary, adapt or
replace it to the respective ceiling construction.
Tighten the ceiling plate to the ceiling with screws.
3
On-site power supply cables may only be inserted into the luminaire with
4
double insulation
enclosed insulation tubes. The insulation tubes must also be fixed in their
position with a cable tie.
With a lateral cable connection, a strain relief and a grommet must be provi-
ded (not part of the delivery).
Connect the power supply cable to the connection box N
(functional earthing must be connected).
In the case of stranded cables, wire end sleeves must be used for the screw
contact in the connection box.
Attach the cover to the mounting bracket (holds magnetically).
5
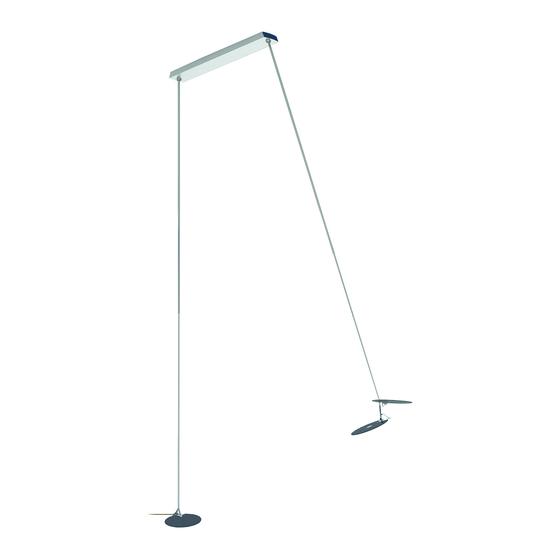
OyO D 3 and D 2 OyO XL
6
Press the ball into the luminaire head by pushing it from the underside (LED)
to the topside with the thumb.
The lamp head can be supported on a padded base.
Ball
Remove the protective cap from the telescopic rod
7
7
rod into the ball as far as possible
with the Allen key
Magnet must be attached to the rod.
8
8
When the luminaire is completely installed, the power
9
9
supply may be switched on again (switch on the fuse).
LICHT UND LEUCHTEN
MOUNTING AND OPERATING INSTRUCTIONS
. Insulate the power supply cables accordingly with the
4a
mounted luminaire heads:
−
Telescopic rod
LED
LED
Luminaire head
6
6
and fixate the grub screw
7b
.
7c
www.baltensweiler.ch
L
4b
. Press the
7a
Tel. +41 41 429 00 30
1
9
2
Power supply cable
4a
(double insulated)
2
Ceiling plate
7c
4b
3
7b
3
7a
5
Cover
Telescopic rod
8
Luminaire heads
M 1203/32637/SaWa/20.05.2021
Remove
protective cap
DE
EN
3 / 5