ClearView POWER SLIDE Montagehandleiding - Pagina 11
Blader online of download pdf Montagehandleiding voor {categorie_naam} ClearView POWER SLIDE. ClearView POWER SLIDE 16 pagina's.

Positioning the Slide
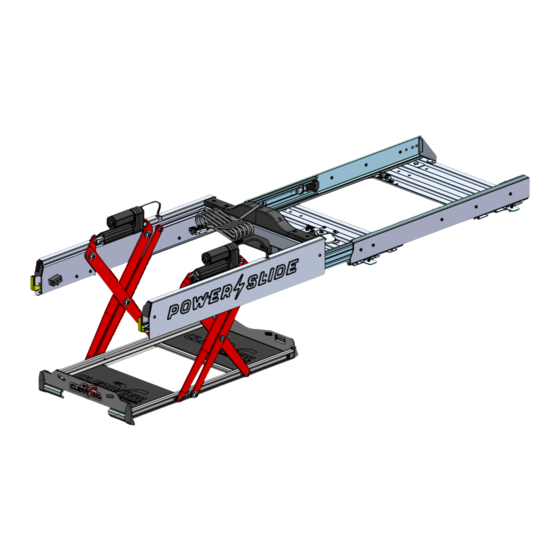
Positioning and mounting the Power Slide™
Temporarily place your fridge into the Power Slide™ in the stowed position.
Test the position of the Power Slide™ to ensure it remains clear of vehicle side trims and
rear door in all possible configurations, including closing the vehicle rear door with the
Power Slide™ in its secured stowed position.
Take care when testing whether the vehicle rear door can be closed without contacting
the Power Slide™ or fridge.
If the Power Slide™ needs to be repositioned, simply remove temporary fixing screws and
move the Power Slide™ into desired location.
Ensure the Power Slide™ does not extend further than the drawer front panels.
Once the position has been finalised, drill through drawer timber top using 8.5mm drill bit
through rear fixing holes on the Power Slide™ base plate.
Feed the supplied M8 mounting plate through the drilled holes from the underside of the
drawer top and tighten using M8 Nyloc nut and washer.
With the rear of the Power Slide™ secured, fully extend the tray assembly and repeat the
mounting process at front fixing holes on the Power Slide™ base plate.
Vacuum all swarf and the Power Slide™ is now ready for use.
IMPORTANT - When fitting a fridge to the Power Slide™, always use quality tie-
down straps and never travel with the fridge unrestrained.
clearviewaccessories.com.au
11
