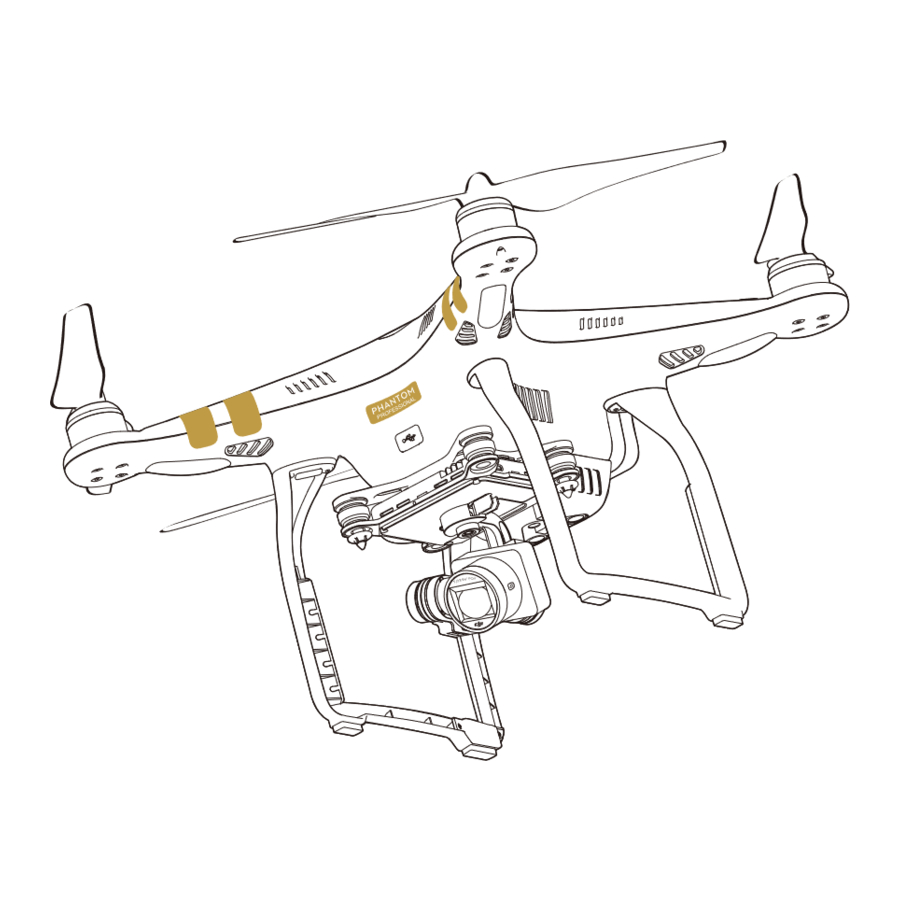
dji PHANTOM 3 PROFESSIONAL Handboek voor gevorderden - Pagina 14
Blader online of download pdf Handboek voor gevorderden voor {categorie_naam} dji PHANTOM 3 PROFESSIONAL. dji PHANTOM 3 PROFESSIONAL 16 pagina's. Intelligent flight battery heater
Ook voor dji PHANTOM 3 PROFESSIONAL: Snelstarthandleiding (10 pagina's), Snelstarthandleiding (8 pagina's), Gebruikershandleiding (3 pagina's), Snelstarthandleiding (4 pagina's)

2D markers
You can analyse your drone photos in Agisoft, a programme that performs photogrammetric
processing of images and creates 3D spatial data. When you analyse your drone photo's in Agisoft you
will have to align your photos. This is done by manually finding ground control points (GCP) (objects)
in your photo. You tell the program that this particular object, say a parked car, is the same car as in
the next photo and the next and so on. The computer will the stitch all these photos together (align)
and create one large image which will later be transformed into an orthomosaic or DEM. This method
is very time consuming and therefore Agisoft has developed a set of 2D markers which you can print
in A3 format on paper (and then laminate them to protect them from moist and rain) and place on the
ground in your flight area. These markers will function as your ground control points. Later, when you
are analysing the photos, Agisoft will recognise these markers and automatically stitch all photos
together. The markers look like such:
When you are using 2D markers in the field, it is important to keep a couple of things in mind:
-
The more markers you use, the better Agisoft will be able to stitch the photo's
together. In every photo taken by the drone you would ideally see at least one
marker but two or three is best (in theory).
-
Fix them properly to the ground, so they can't be moved by the wind. You can bring
herrings to fixate them, but it is advisable to also put something on the sides so
they don't curl up.
-
Choose strategic places. There should be markers in the corners and at the borders
of your flight area, but also in the middle. Evenly distribute them and if you are
also working with 3D markers, make sure there is enough distance between those
too.
-
Check the weather. Ideally you avoid rolling cloud cover as this creates shadows
and inconsistent light in your imagery. A sunny day with blue skies could create
oversaturation in your photos. It is best to have consistent lighting in your photos,
so plan your missions in advance and if you have no other choice, adjust the ISO
sensitivity manually on your iPad while the drone is taking photos to counteract
the effect of clouds or oversaturation.
-
Adjust the drone height. Depending on the weather, the markers can be seen up
to approximately 20 meters. If you are flying at a height of 40 meters, there is no
point in placing markers as the pattern on them will not be visible in the photos.
Last updated March 27 2020
DJI Phantom 3 Advanced Manual
Page 14 of 16
