Etac BM43099 Gebruikershandleiding - Pagina 4
Blader online of download pdf Gebruikershandleiding voor {categorie_naam} Etac BM43099. Etac BM43099 6 pagina's.

Molift RaiserPro / BM43099 Rev G / www.etac.com
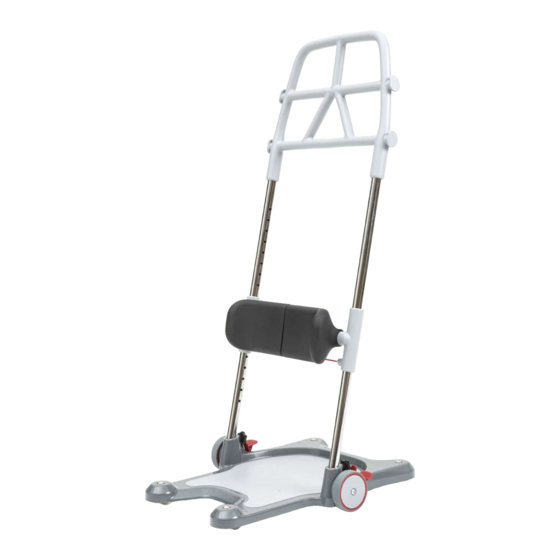
Mounting handle
1
1. Slide the handle on pipe so holes
on pipe maching holes on handle.
Innsert unbraco screws and tighten
with allen key.
Checklist after assembly
Don`t start using Molift RaiserPro before
completing the checklist after assembly.
Use this checklist to verify that the Molift RaiserPro is Properly
installed and can operate correctly and safely before use. See
assemblyinformation on the previous page for details.
✝
Make sure that the leg support is mounted correctly.
✝
Make sure that both knobs between outer pipes and
base plate are mounted correctly and Properly tightened
✝
Make sure that the handle is mounted correctly.
✝
Make sure Molift RaiserPro moves freely.
✝
Make sure brake works.
Adjusting leg support height
1
1. Pull wire on the back side
of cushions. Move leg sup-
port up or down to desired
height.
2. When correct knee support
height is obtained, release
wire and let the leg support
settle in desired height. You
2
2. Make sure unbraco
screws are pointing
towards assistant side.
"Click"
will hear the leg support "click" in
place and the red wire is straight.
The knee support height can
be read from the scale on the
pipe. The number above the leg
support bracket referesto the
correct height.
Make sure both sidesare properly settled.
Pushup or down until you get the auditiv
feedback click.
Unattached leg support can causeknee support
to slide down and make the Molift RaiserPro
unsafe to use.
Positioning Molift Raiser Pro
1. The user's feet are
placed on the footplate.
Transfering user
Brake locked
2
51
48
45
42
39
36
33
30
1. Lock both wheels by
pressing down the brake on
one side. Both wheels lock
regardless of which side
assistant steps on.
Placeone foot on the edge
of the base plate. Choose
a grip on the handle that is
comfortable for both assis-
tant and the user.
4
1
2. Adjust the height of the leg
support so that the top of the
support is below the knee of the
user.
3. When desired height is reached
the leg support "click" in place.
1
2. Encourage the user to stand
up, at the same time, counter
balancing the users weight using
a foot and hands (useyour body-
weight by leaning backwards).
2
3
"Click"
2
