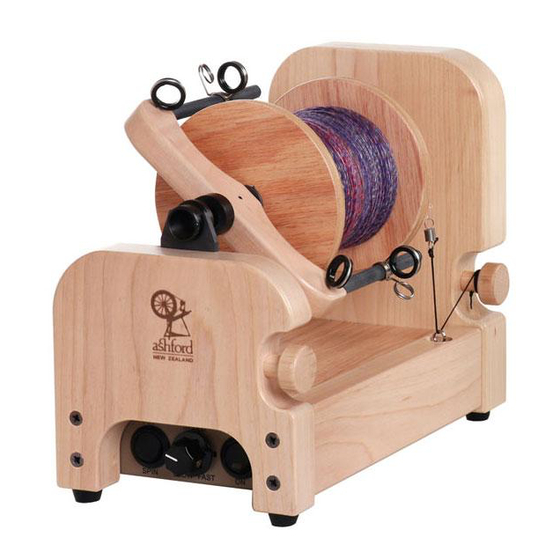
Ashford e-Spinner 3 Montagehandleiding - Pagina 4
Blader online of download pdf Montagehandleiding voor {categorie_naam} Ashford e-Spinner 3. Ashford e-Spinner 3 6 pagina's.
Ook voor Ashford e-Spinner 3: Gebruiksaanwijzing (6 pagina's)

Lazy kate
1.
Tie the 65 cm (25 ½") piece of nylon brake band to
the other spring attached to a screw eye. Thread the tail
of the nylon brake band down the inside of the spring &
trim off surplus.
2.
Thread the screw eye with the spring and brake band
attached into the pilot hole in the lazy kate base.
3.
Gently tap the 2 bobbin pins into the holes in the lazy
kate base.
4.
Gently squeeze the ends of the yarn guide together
and push it into the 2 holes in the lazy kate base.
5.
Position the 2 bobbins onto the bobbin pins.
6.
Thread the nylon brake band through the hole in the
tension knob and tie a knot.
7.
Place the tension knob in the tapered hole, wrap
the nylon brake band around the 2 bobbin whorls and
tighten until the spring just starts to extend. This is the
normal amount of tension required. Do not extend the
spring more than 1 ½ times its own length.
When plying, feed the 2 ends of your yarn through the
yarn guide.
Controls
1.
SPIN/PLY (Clockwise/Anticlockwise): SPIN is for
spinning, PLY is for plying. Do not reverse the direction
without stopping the motor with the ON/OFF switch.
2.
SPEED: Start on SLOW and turn the dial clockwise to
gradually increase the speed until the correct RPM is
achieved.
3.
ON/OFF: The e-Spinner 3 is fitted with a soft start
which results in the motor taking 2 – 3 seconds to
reach the desired speed. This prevents the yarn being
jerked out of your hands when starting. Always switch
the e-Spinner 3 OFF rather than using the speed control
when you want to stop. Check the red LED light is off
before you leave your e-Spinner 3.
Foot Switch
If you would like to START and STOP your e-Spinner 3 with
the foot switch only, insert the foot switch plug into the
FOOT SWITCH hole in the rear of the e-Spinner 3.
There are 2 operating modes.
a) Turn the ON/OFF switch to ON. Lightly tap the foot
switch to turn the e-Spinner 3 ON and lightly tap again
to turn the e-Spinner 3 OFF.
b) Lightly put your foot on the foot switch and turn the
power ON. The e-Spinner 3 will operate only while
your foot is on the foot switch. Lift your foot and the
e-Spinner will stop.
Note:
Ensure the e-Spinner 3 is switched off before
removing the foot switch plug.
LED Light
The Red LED light indicates the status of your e-Spinner.
Constant on.
The e-Spinner 3 is running normally.
Flashing short on/short off.
The e-Spinner 3 is on standby. The speed is set to ZERO
or the foot switch is OFF.
Flashing long on/short off.
The power pack is under load. This is OK and you can't
harm the e-Spinner 3. However, we recommend you
either reduce the brake band tension, reduce speed or
apply a drop of oil to the flyer and bobbin bearings until
the flashing stops.
4
