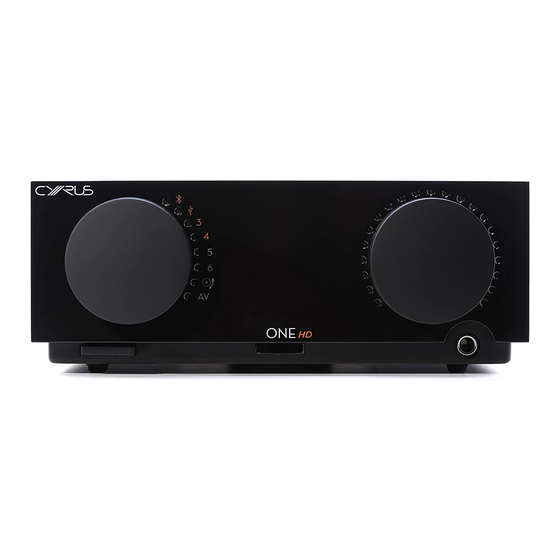
Cyrus ONE HD Gebruiksaanwijzing - Pagina 8
Blader online of download pdf Gebruiksaanwijzing voor {categorie_naam} Cyrus ONE HD. Cyrus ONE HD 17 pagina's.

Cyrus ONE
HD
Important – read before connecting anything
Always disconnect all system components from the mains
before changing any connections. Connect the mains when
everything is hooked up.
When connecting sources avoid the use of long interconnects
which may degrade sound quality. The maximum length
advised is 3m.
What can I connect?
You can play sound from Bluetooth sources such as a phone
or a computer.
You can connect a vinyl turntable. It must have a Moving
Magnet cartridge. Moving Coil cartridges are not
compatible.
You can connect up to 3 x line analogue audio sources such
as CD or DVD players, TVs or satellite boxes.
You can connect two digital audio sources. Both cable and
optical connection are available.
You can connect USB audio from a computer.
Connect a turntable
The turntable will have a cable with two plugs, and often a
thin ground wire with a tag.
•
Connect the plugs to the
Connect the white plug to the left socket and the red
plug to the right socket.
•
Unscrew the ground
wire under the terminal.
Connect analogue line audio
If you have line audio sources you can connect them to any
of the analogue inputs - Input 5, Input 6 or AV.
•
Connect a stereo phono interconnect (not supplied)
from the outputs of the source to one of these inputs on
the back panel.
•
Connect the white plugs to the left sockets and the red
plugs to the right sockets.
If the source has surround-sound (DVD player etc), check
that the source is set to work in two channel stereo mode.
Connect digital audio
If you have digital audio sources you can connect them to
Input 3 (optical) or Input 4 (wired).
•
For optical digital sources, connect a Toslink optical
interconnect (not supplied) from the output of the
source to Input 3.
•
For wired digital sources, connect a digital phono
interconnect (not supplied) from the output of the
source to Input 4.
sockets on the back panel.
terminal then fasten the ground
Connect USB audio
If you connect a computer to the USB audio port you can
play all audio from the computer through your amplifier.
•
Connect a usb A to usb b cable (not supplied) between a
free USB port on the computer and the USB B input.
Connect speakers
The amplifier and speaker have red and black speaker
terminals. Make sure the red terminal on the amplifier
connects to the red terminal on the speaker (and black to
black).
•
Speaker cables will have a polarity
indicator. This is usually a stripe
or rib on the wire to show the red
connection.
•
Connect the striped wire to the
red terminal at each end, then
connect the other wire to the
black terminals.
Make sure the left speaker is
connected to the left terminals at the
amplifier (and right to the right).
Connect headphones
Connect headphones to the jack on the front panel. When
headphones are connected to the amplifier, the speakers
will switch off.
The headphone socket is a standard 1/4" (6.35mm) stereo
jack. Converters are readily available If you want to use
headphones with a smaller (3.5mm) jack.
Connect mains power
When you have finished all other connections, connect
mains power.
•
Connect the socket on the power cable to the power
inlet on the back panel of the amplifier. Now connect the
cable to a mains outlet.
NOTE: The means to disconnect this product from the mains
supply is the mains plug. Ensure that the mains plug is
accessible at all times.
6
User Instructions
polarity
