EGG Shell Gebruikershandleiding en onderhoudsinstructies - Pagina 12
Blader online of download pdf Gebruikershandleiding en onderhoudsinstructies voor {categorie_naam} EGG Shell. EGG Shell 14 pagina's. Child restraint system 40-80cm/13kg

23
ATTENTION: The CRS should only
back
of
the
car
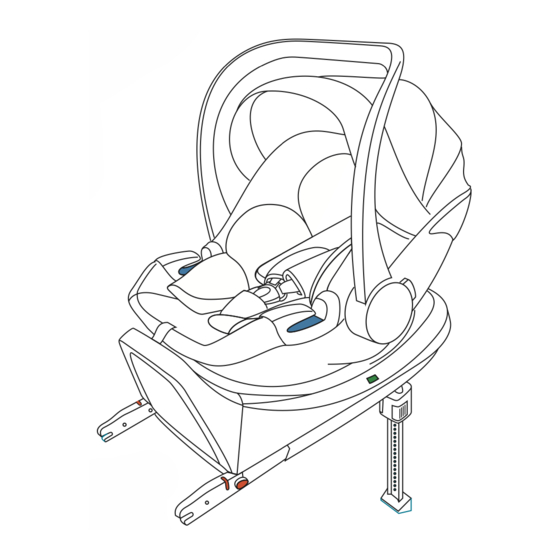
Removing the CRS from the ISOFIX base.
handle forwards (1), (picture 19) and lift the infant carrier/
car seat up and off the base (2) (picture 19)
Removing the ISOFIX base
Lift up the lever (picture 20) and pull the whole base
forwards to extend the ISOFIX legs.
Push back the orange buttons as indicated by the red
arrow (1) (picture 21) to release the two ISOFIX
connectors from the vehicle anchors and pull the ISOFIX
base away in the direction of the arrow (2) (picture 21).
ever
face
the
when fitted.
Pull the
CRS Installation (Belted)
Installation in the car with car seatbelt :
Place the CRS facing the rear of the vehicle on the
vehicle seat. WARNING: The CRS is not suitable for use
with a two-point or lap seatbelt. Securing with a two-
point seatbelt could result in serious or fatal injuries to the
child in the event of an accident.
Pull out the vehicle seatbelt and route it over the CRS.
Lock the buckle tongue in place in vehicle seatbelt,
the striped belt section (pictures 22 and 23) show the lap
belt position. Take the diagonal section of the seat belt
shown in solid blue (Pictures 22,23 and 24) and route it
around the back of the CRS and through the rear guide 3
(picture 22and 24)
Warning:
it may be that buckle part of the car seatbelt is too
long so that it reaches the blue belt guides of the infant car
seat. This means that the infant car seat cannot be fastened
tightly. If this is the case, choose another seat in the car for
the fitting of the CRS.
ADVICE: Seek fitting guidance from your local retailer who
can offer expert advice.
24
