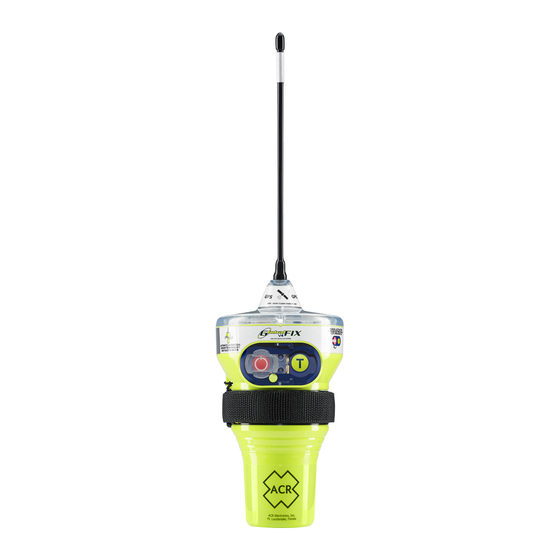
ACR Electronics ARTEX GLOBALFIX V4 Handleiding productondersteuning - Pagina 15
Blader online of download pdf Handleiding productondersteuning voor {categorie_naam} ACR Electronics ARTEX GLOBALFIX V4. ACR Electronics ARTEX GLOBALFIX V4 20 pagina's. 406 mhz gps epirb
Ook voor ACR Electronics ARTEX GLOBALFIX V4: Snelstarthandleiding (11 pagina's)

To install the new HydroFix HRU
Apply pressure to the ejection spring and hold it flat against the bracket. With your free hand place the new HydroFix
HRU into the key way in the 5 o'clock position and rotate clockwise to the 7 o'clock position. Slowly remove pressure from
the ejection spring. The HydroFix HRU should now be held in the 7 o'clock position with the pressure on the ejection
spring.
Hydrostatic Release Expiration: Only applicable to Category I beacons. The HydroFix HRU has an expiration date of 2
years from the date of installation or 4 years from the date of manufacture, whichever comes first. When installing the
new HydroFix HRU, it is the beacon owner's responsibility to permanently mark the new expiration date on the HydroFix
HRU date calendar as seen below.
Reinstall the beacon with buttons facing out. The beacon should fit snugly in the bracket. Reinstall the lid by seating the
bottom of the lid to the detent on the base. Close the upper portion of the lid so the HydroFix HRU rod lines up with the
spring loaded knob. With gentle pressure, hold the lid while you turn the lock counterclockwise until it stops, then
clockwise until it stops. This should capture the HydroFix HRU and snap the lid into a locked position. Confirm that the lid
is attached to the bottom of the bracket and the HydroFix HRU.
CAUTION: Do not force the lid closed. If the lid does not close easily, check to see that the beacon is properly
installed in the bracket and the HydroFix HRU is properly seated.
4. Self-Testing the beacon
The beacon may be self-tested as is warranted, once a month or up to a recommended maximum of 120 times in the 10-
year life of the battery. The self-test can be performed inside or outside a building or vessel.
The self-test is initiated by pressing the self-test button for one (1) second until a brief green LED flashes and then
releasing the button. Do not press the button for longer than 4 seconds or the extended GPS test will start.
During self-test, a 406 MHz self-test message and 121.5 MHz signal are transmitted from the beacon. The self-test also
checks battery capacity, beacon memory, GPS functionality and the circuit board. A long green LED flash and a long beep
indicate a successful test. The strobe light will flash at the end of self-test and the self-test will be complete at that point.
Note that if any of the individual tests fail during self-test, there will be a long red LED flash and four (4) beeps.
See following page for light sequencing during the self-test.
NOTE: The "beeps" are a very high-pitched tone that some people may not be able to hear. When performing the self-
test, you may count the green LED flashes.
Date of Installation Example:
Date of installation of New HRU or First
Installation of EPIRB including new HRU:
August 1, 2015.
This unit will need to be replaced in
August of 2017. Mark off "AUG 8" and
"2017" on the HRU date calendar
15 |
P a g e
